
|
For those of you following, which is probably nobody, I apologize for the poor updates on the camp project! Between a busy fishing and guiding season, and just hammering through work, sadly this was not a priority for me, but now I have some time to go back and post pictures/updates. Several new and repeat clients stayed at the camp this spring as we had a full working bathroom, electricity, fridge, propane stove and beds available. A big thanks to those of you who stayed with me this spring in a half finished/half construction zone! If you're not familiar with my goal for the camp (cabin for those not from New England!), I plan on offering free lodging to folks who come fish with me for two days in the Rangeley region. My rates do not change. Instead of paying $300-$400 for two nights lodging in the area, why not spend that on a second guided day to increase your fly fishing skills and more shots at some of our big, native brook trout and landlocked salmon? My last post from the winter had pictures of us installing the roof insulation over the Raft-R-Mate. I'm going to post pictures in order from that last post below with brief descriptions. After we got the Raft-R-Mates up, we insulated the ceiling. I didn't love this process as a lot of insulation particles were constantly in your face, and wearing a mask with the heat rising from the propane monitor heater was not always a fun thing. We used a compression gun stapler which made the job a lot quicker than using a hammer stapler. We also opted for finishing the walls with plastic instead of using the paper insulation. It saved us money and it wasn't any more time consuming. 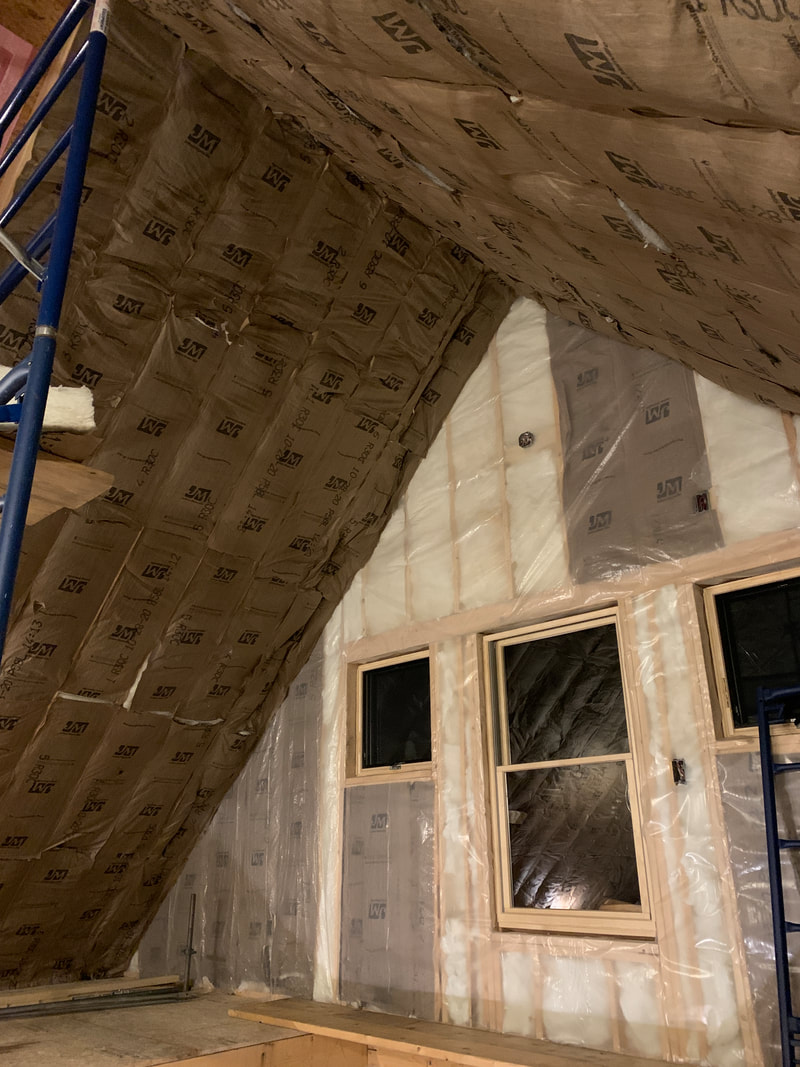 We used one inch foam board over the R30 ceiling insulation to increase insulation. You can see that we used our T-square to draw lines down the studs so we'd know where we were nailing. 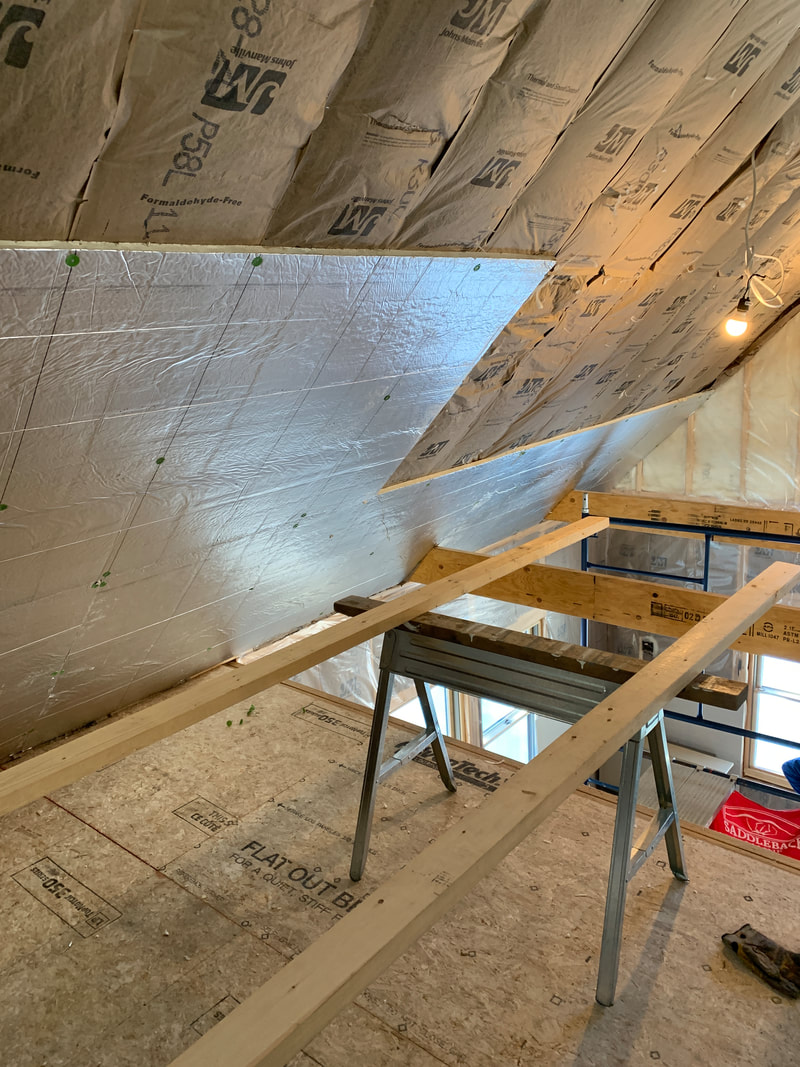 This picture was taken in January after a decent snowstorm. The insulation, black metal roof and 12/12 pitch are working as planned! 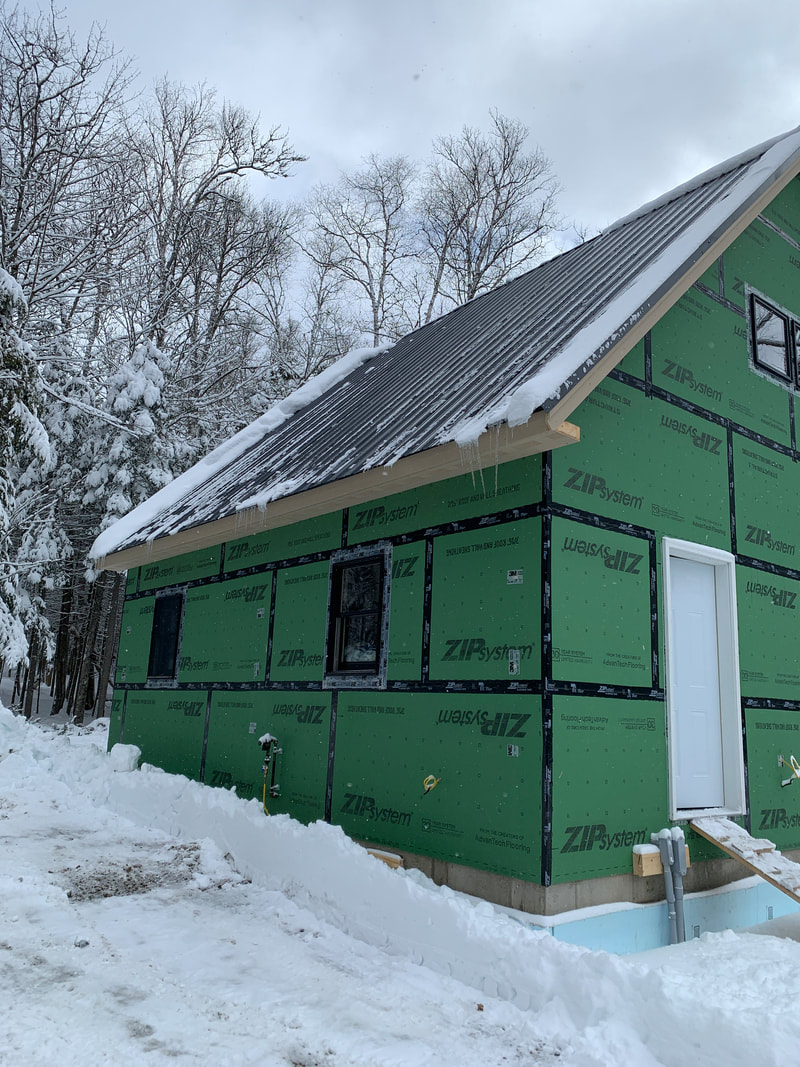 This picture below has the strapping added for our v-match that will go horizontally. The key with putting this stuff on is really screwing it down so that the foam insulation is nice and tight. The staging, which seemed like it was there forever, is where the "catwalk" will go. The catwalk is going to extend from the loft to the front of the camp to access the windows. It will be utilized as a fly tying area so folks can tie their flies the night before a trip and catch fish on them the next day!! 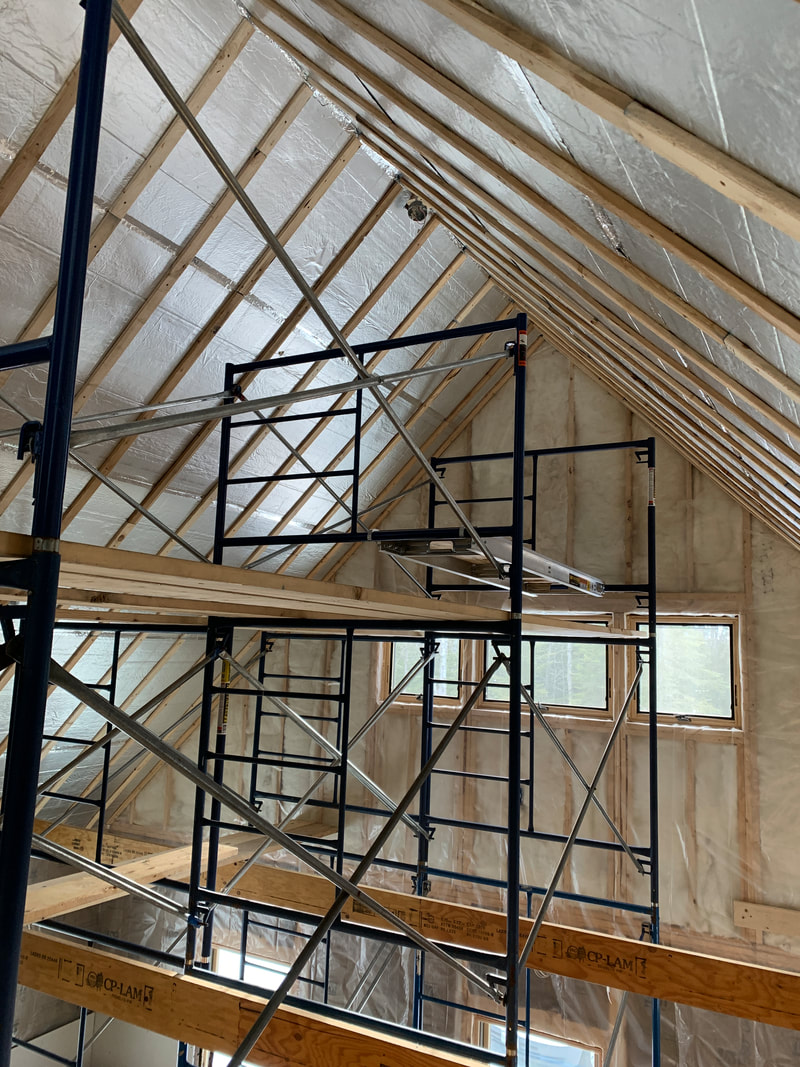 Next up was drywalling. I have to say, my LEAST favorite part, was by FAR doing the drywall. John and I didn't have much experience with it. Hanging wasn't too bad, but our inexperience showed when it was time to mud. We hung the drywall sheets on some walls from bottom to top, and that left us with 3-4 inch strip on top, which just meant more mudding. You SHOULD hang from top to bottom on 8 foot walls, so if there's any gap it'll be on the bottom where you put baseboard trim! Thankfully, my friends Lane and Jeff are more experienced with drywall and they did almost all of the mudding. They did a great job, but unfortunately had to leave after 2 days, which left me with doing a good bit of sanding and "attempting" to feather out the rest of the seams. I virtually had no idea what I was doing, so I probably sanded a lot more than I needed to, which led to some long nights (as you can see in the last picture). In hindsight, I really should have hired out drywall to professionals and let them do their thing! 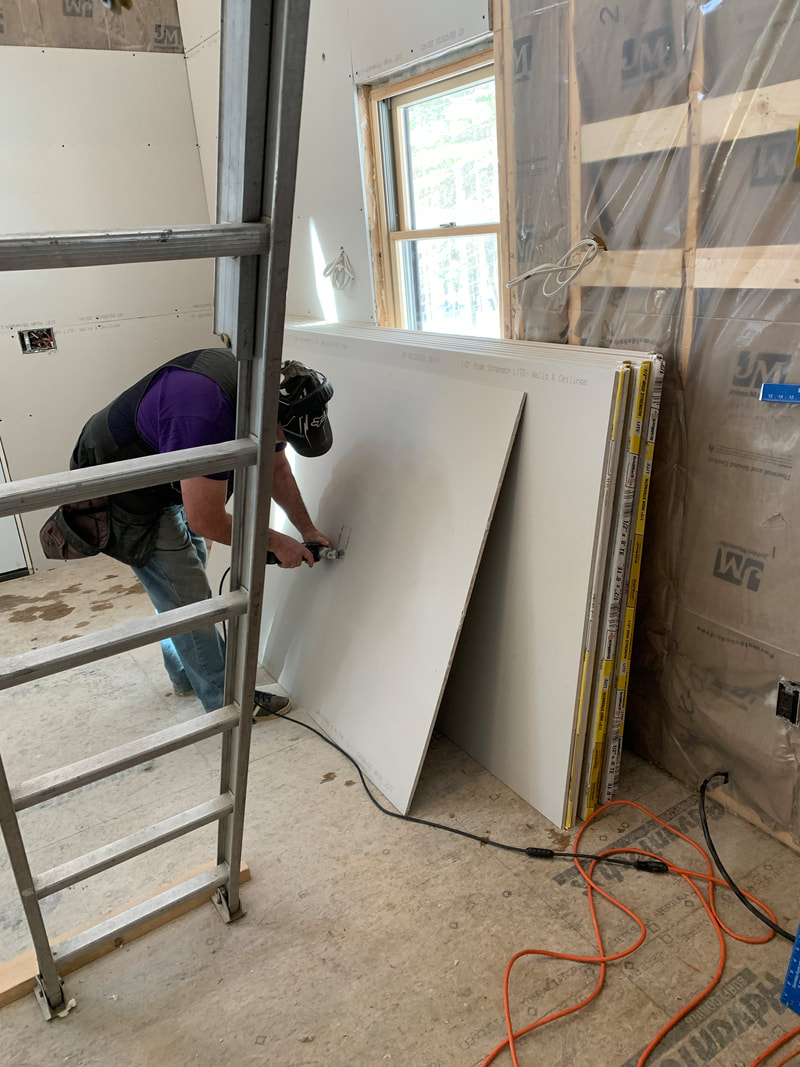   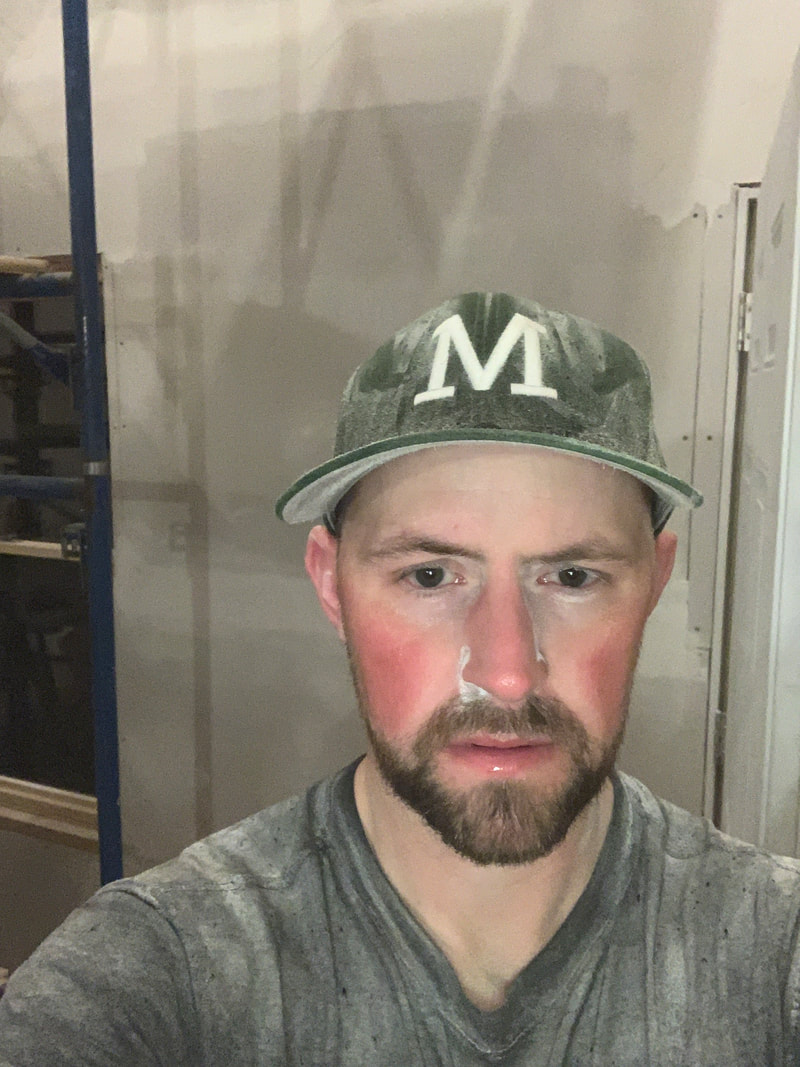 Our stairs to the loft are in the back of the camp in between the bathroom and the bedroom. They go up on the left side to a landing and then up on the right side to the attic. There will be a closet door underneath the right side and room for additional storage underneath the stair landing. Notice the placement of the Advantech slogan on the top of the left stairs. Maybe they'll give us an endorsement ;0) 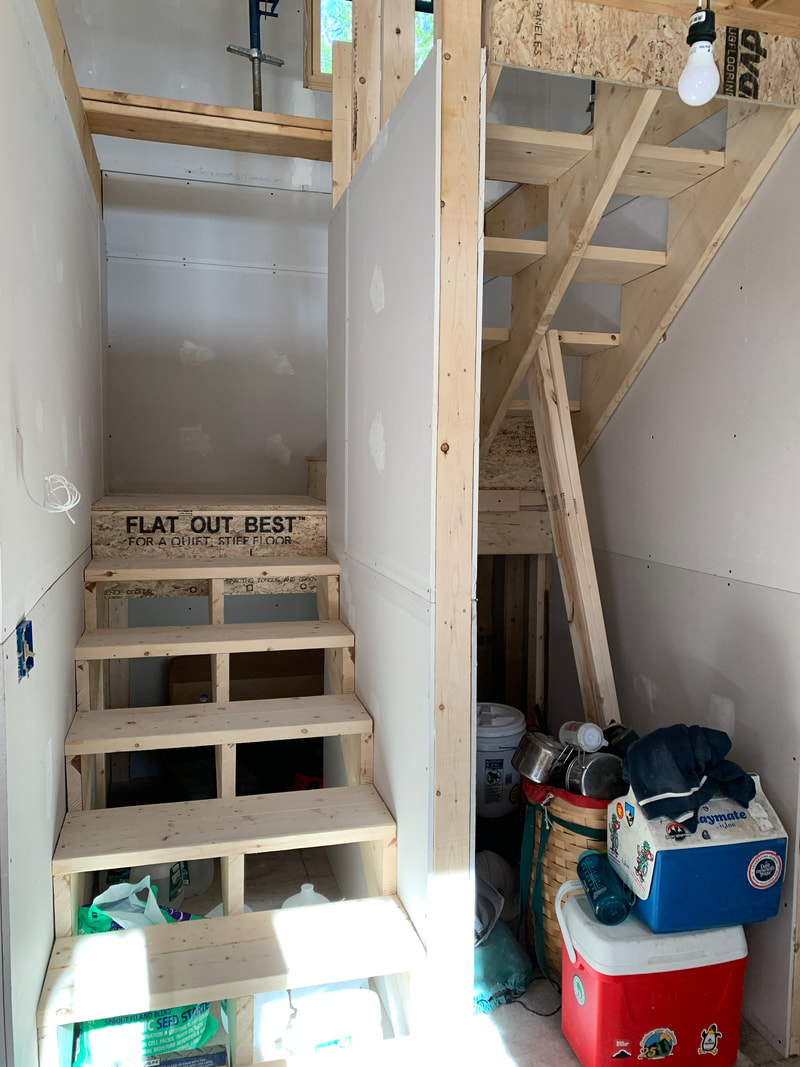 We ordered prefinished v-match pine in a honey oak color. If we had to stain and poly all of the boards, it would have taken us weeks. We also did not have enough room to work on boards and let them dry. The camp is about 850 square feet with the loft, so it's tight. The tricky thing was storing this stuff outside during the months of March and April, but it held up great off the ground and stored under tarps. After getting around the LVL beams, getting this stuff up went pretty quickly. One guy cutting and passing up boards, and two guys nailing it in. We had temporary lights put in and then went with these flushmount lights which were way easier to install than recessed lights. 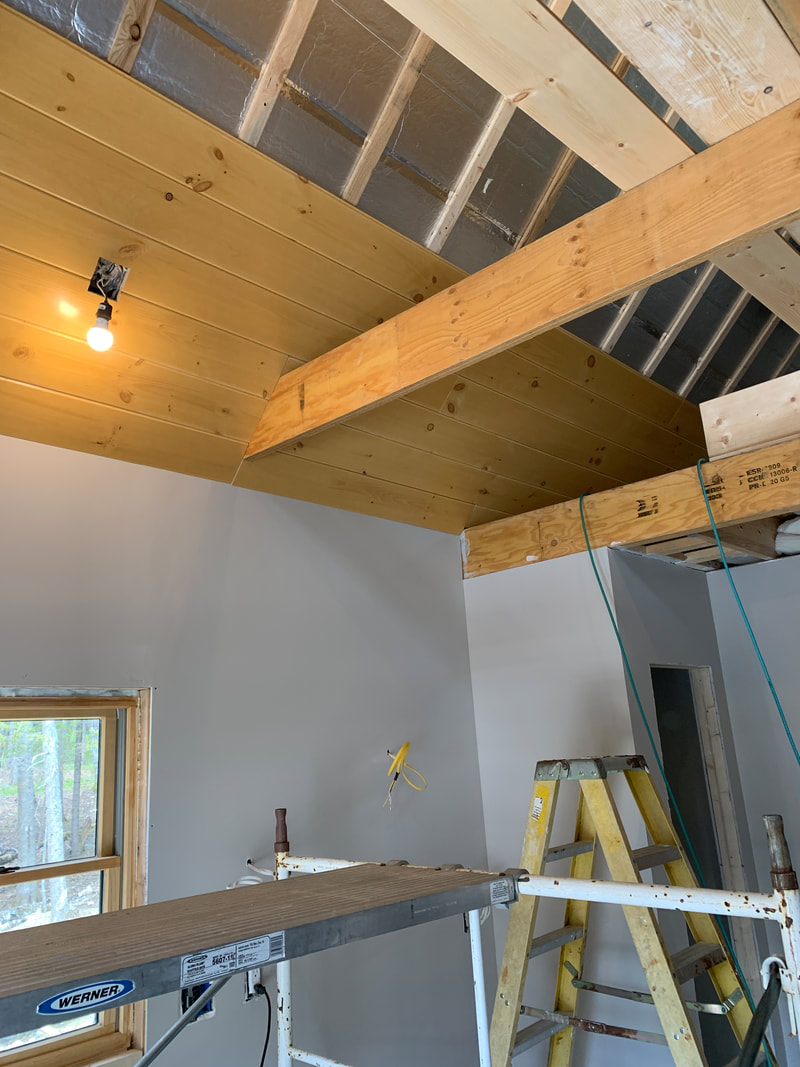 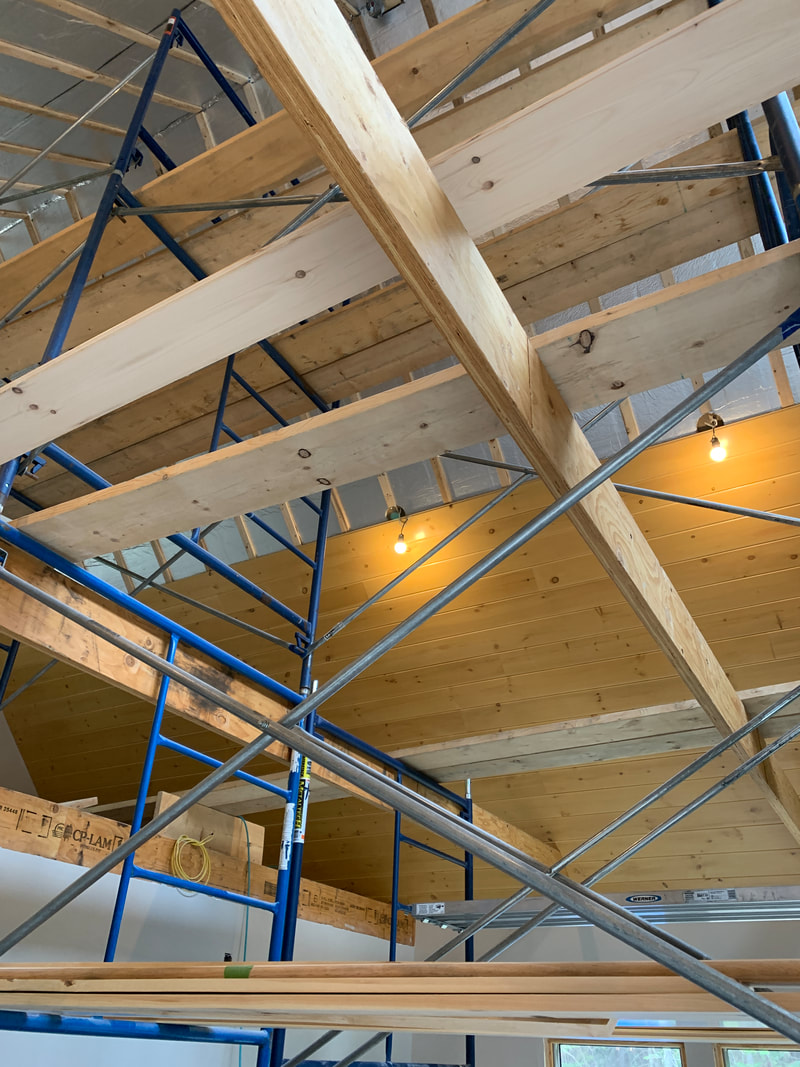 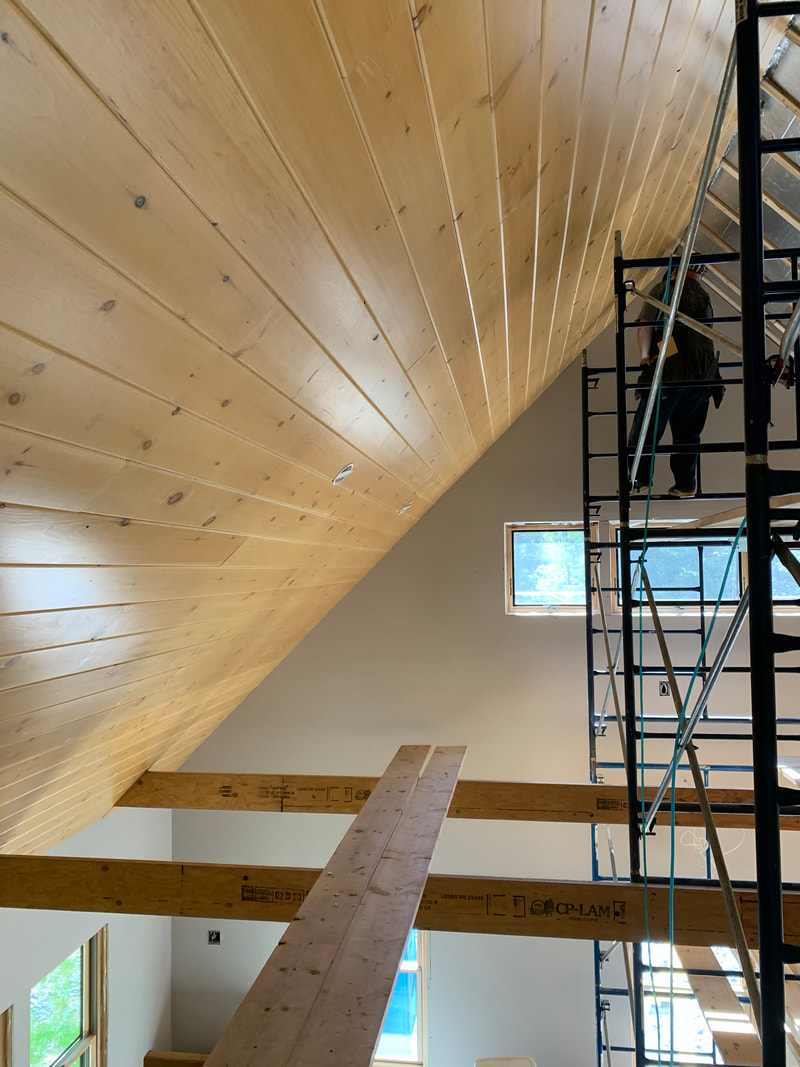 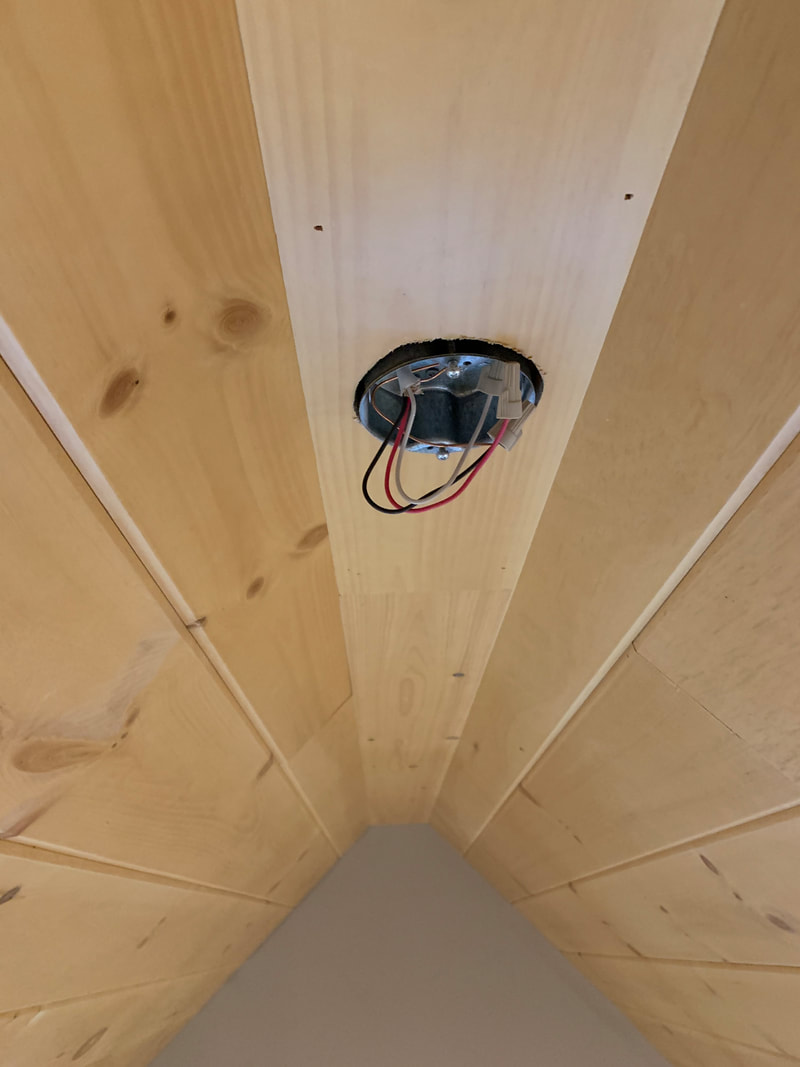 We had actually painted before putting up the ceiling. We went with a color that was a light grey/white. It's actually really close to the color of drywall and it looks great with the honey pine v-match. After painting the bedroom, we put up the v-match ceiling in there. There will be a ceiling fan in the bedroom with a dimmer light switch and dimmer fan switch. We bought a lot of the v-match and are utilizing it for everything. The bedroom also has the trap door for the basement with a closet for clothes and storage. 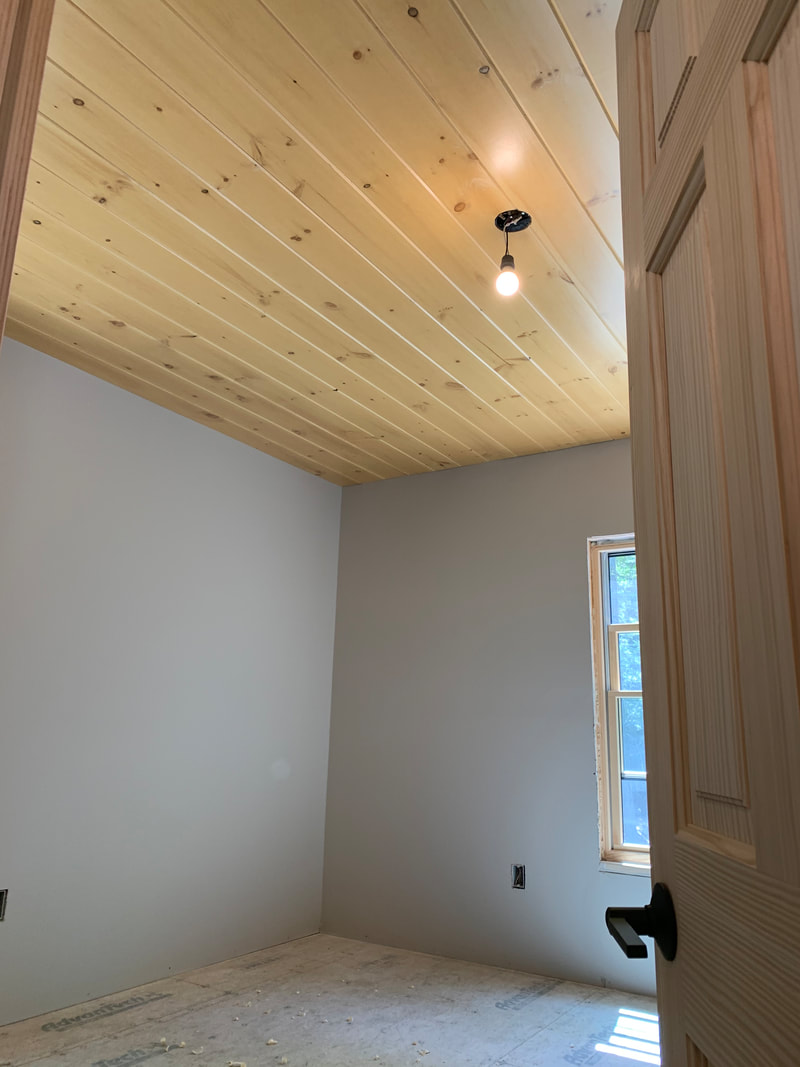 We finished the bathroom in v-match and used WIDE vinyl plank flooring, which I highly recommend because it just means less work. We were able to fit a 30" vanity with the toilet in the corner. We installed a glass sliding door for the shower also. Our window trim throughout the house is made from the v-match scrap, so that was great not having to stain and poly trim. Our systems are pretty simple with a pressure tank and a Rinnai on-demand water heater. There is some arsenic and manganese in the water, so we'll be putting in a whole house filtration system as well, but I just bring up 5 gallon jugs to put in the Primo Water Cooler Station for warm and cold, safe drinking water which is in the pantry in the kitchen! All of the pipes are designed with valves to shut off in case if I want to quickly drain water before leaving camp in the winter months. I'm not sure yet if I'm going to leave heat running or not for this upcoming winter when I'm not there. 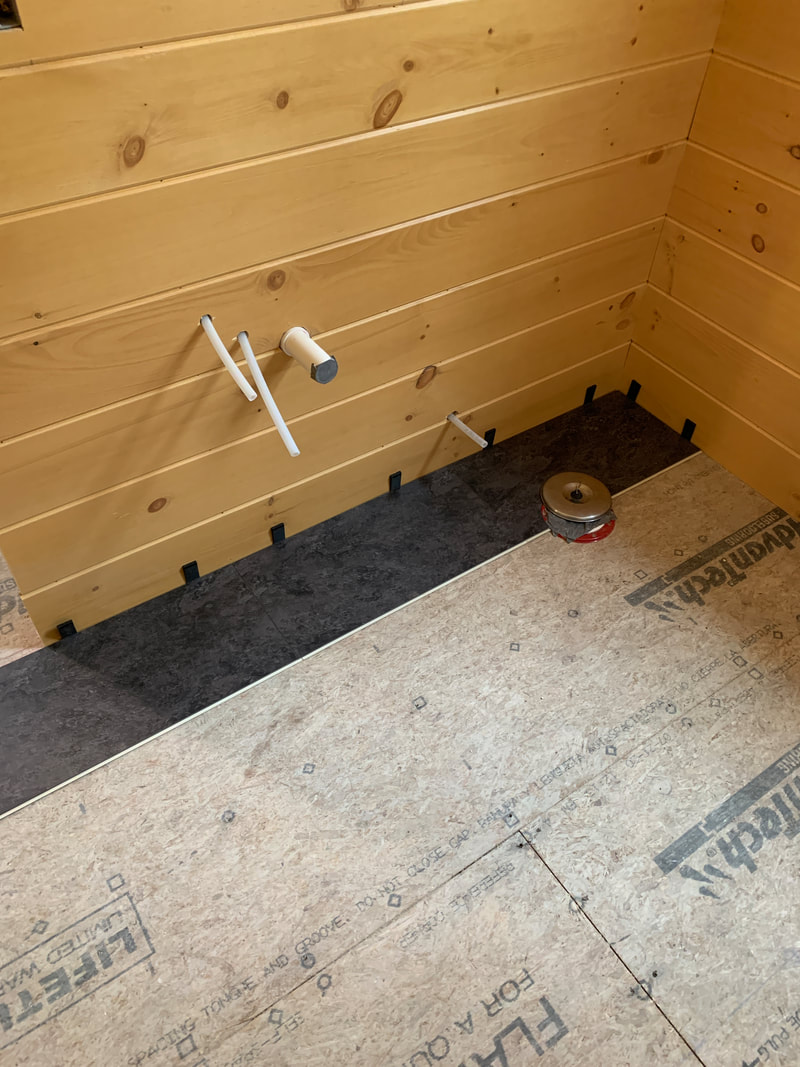 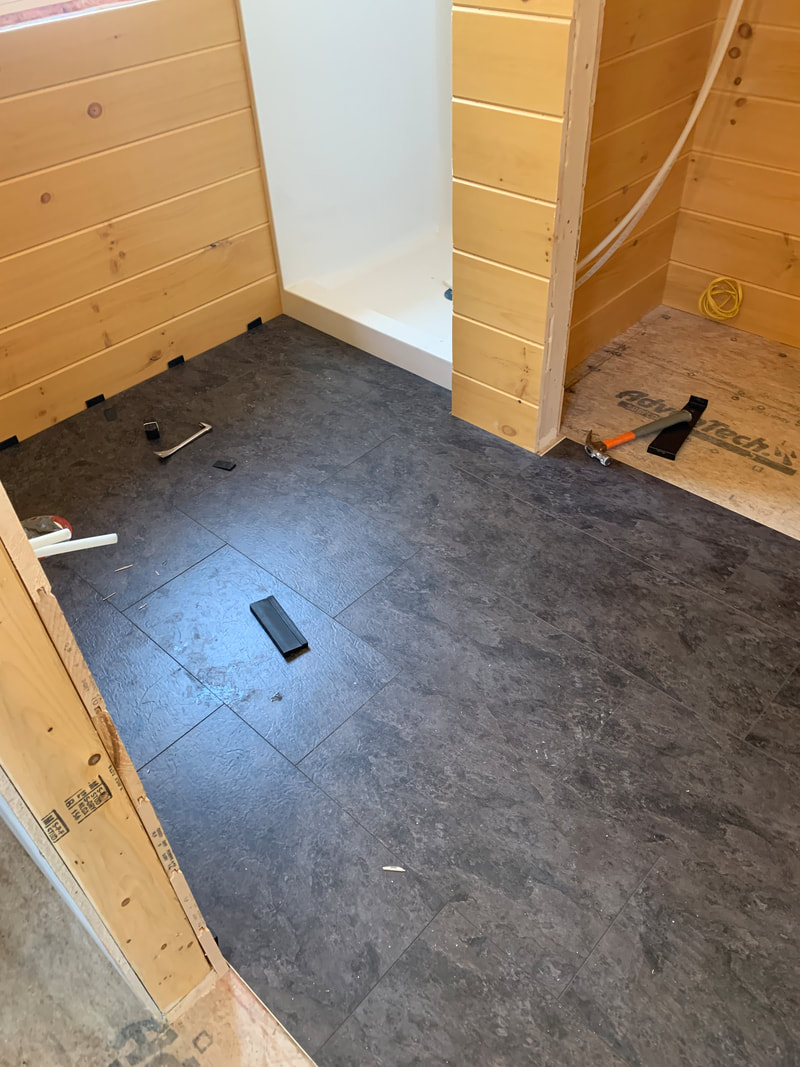 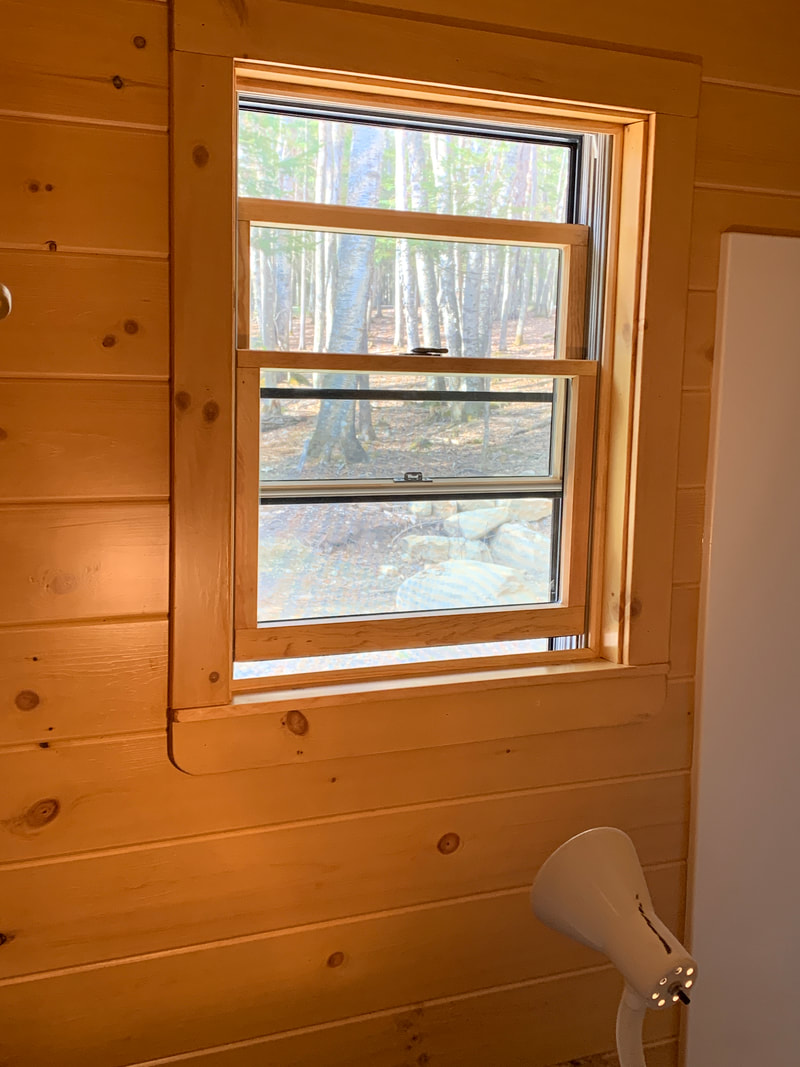 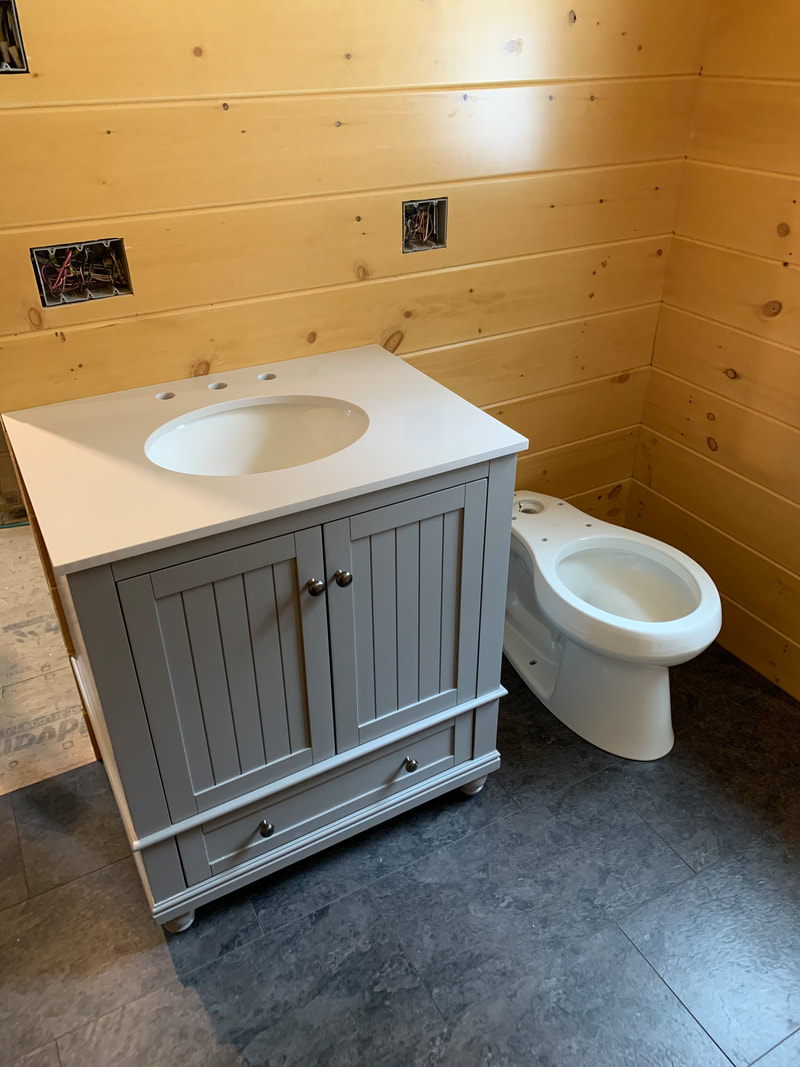 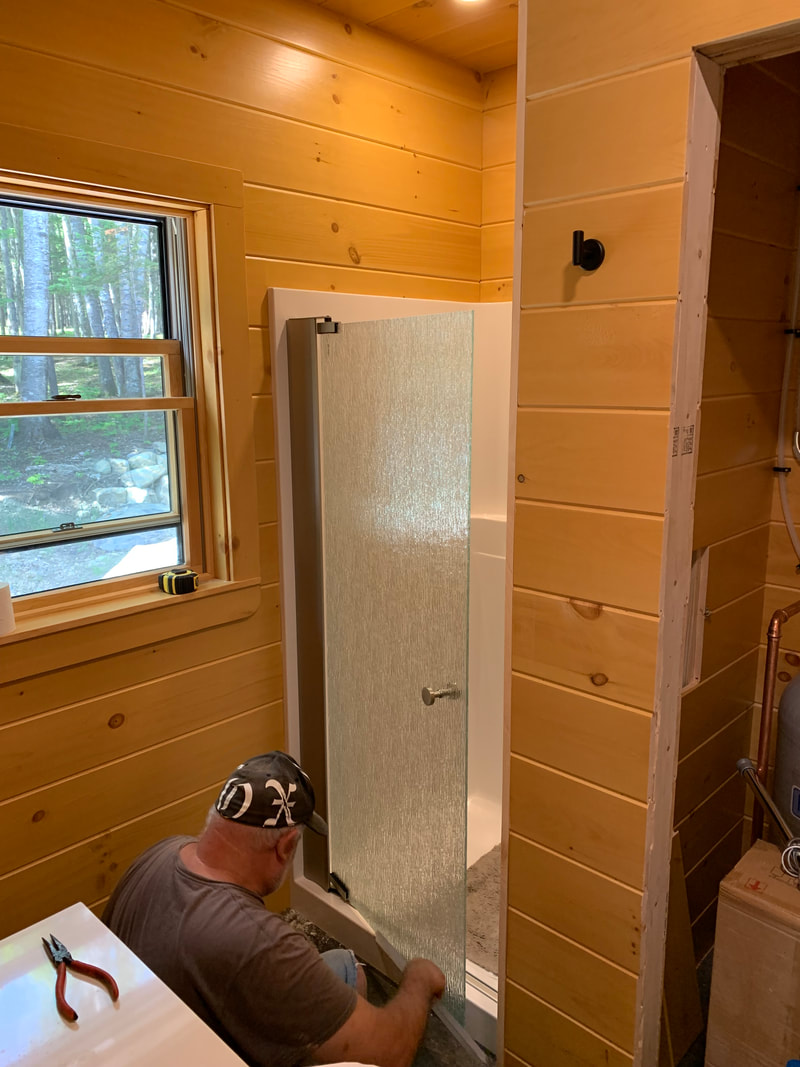 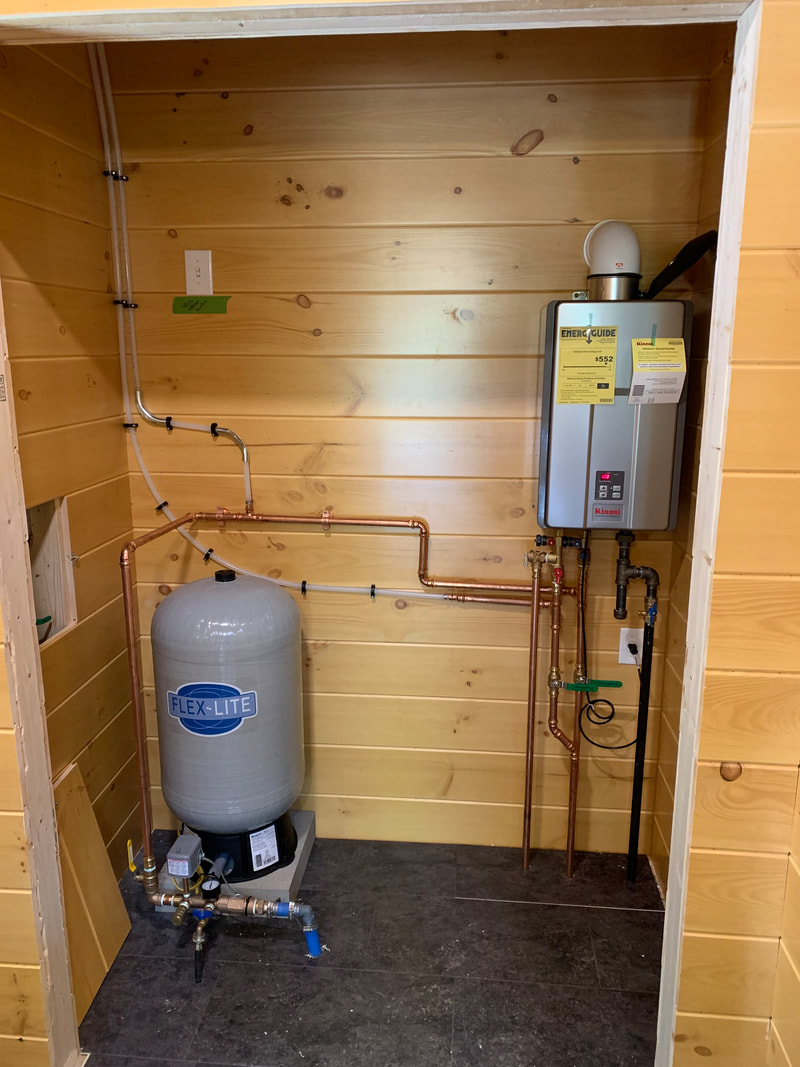 Here is a quick shot of the basement. As you can see I used 2 inch foam board and attached with a special foam board spray in all of the bays. I used spray foam on all of the borders and any openings. "She's tight" as a button down there!  It's now early spring of '21 and Marc came up to help out and do a little fishing. You can see us using the staging to hang our waders. It's a game changer having a working bathroom, instead of using buckets to wash your hands after using the Porta Potty! 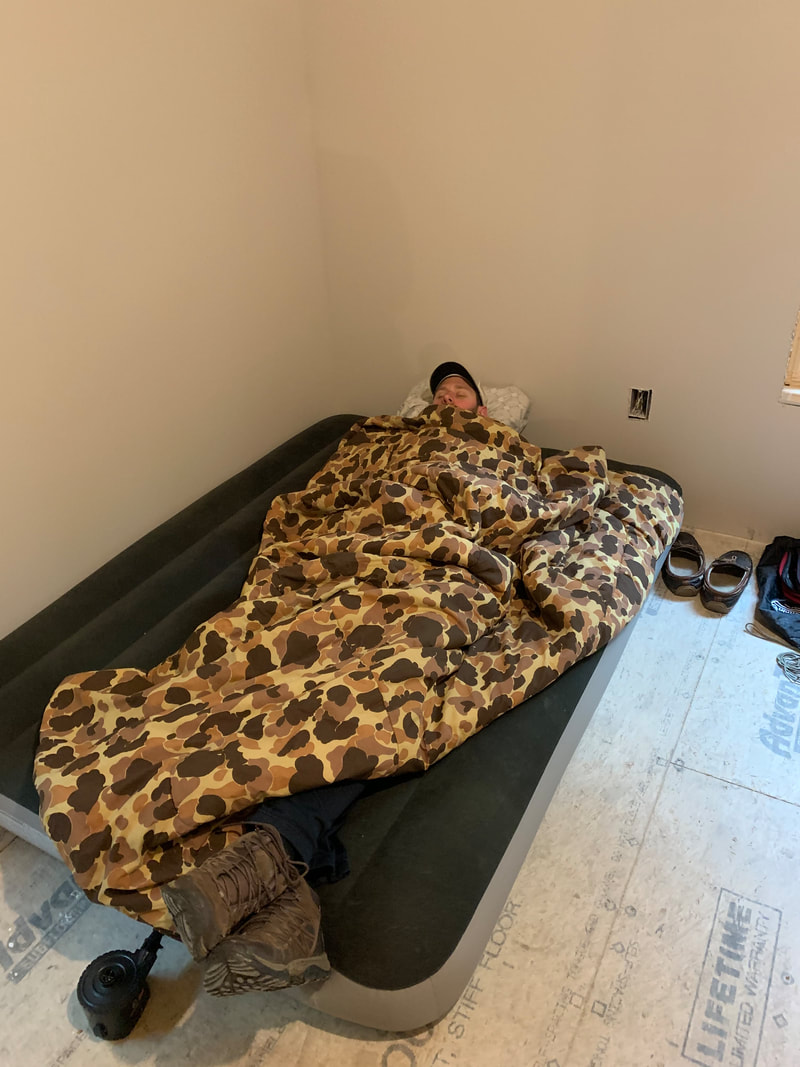 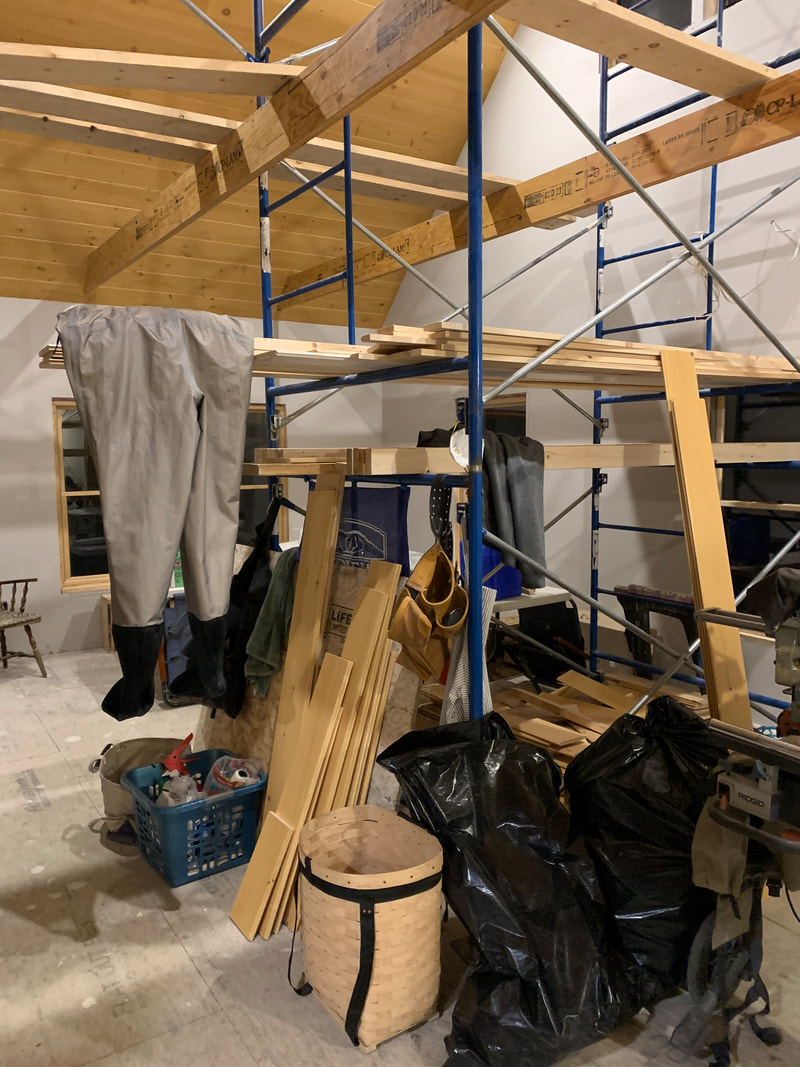 The pictures below show the catwalk all framed up. We went with 6' width, which I was hesitant about at first, but once it was up it's a really great space. There will be two lights underneath on dimmers and a hanging kitchen light as the kitchen table will be right below the sitting area of the catwalk. You can also see the "stink pipe" boxed in as it runs along the ceiling in the first picture below. We weren't able to go straight up through the roof with it. You can also see that the loft railing is all framed up and finished with v-match, as are the LVL beams and the window trim. The last picture shows the catwalk finished with the v-match and the ceiling fan up above! 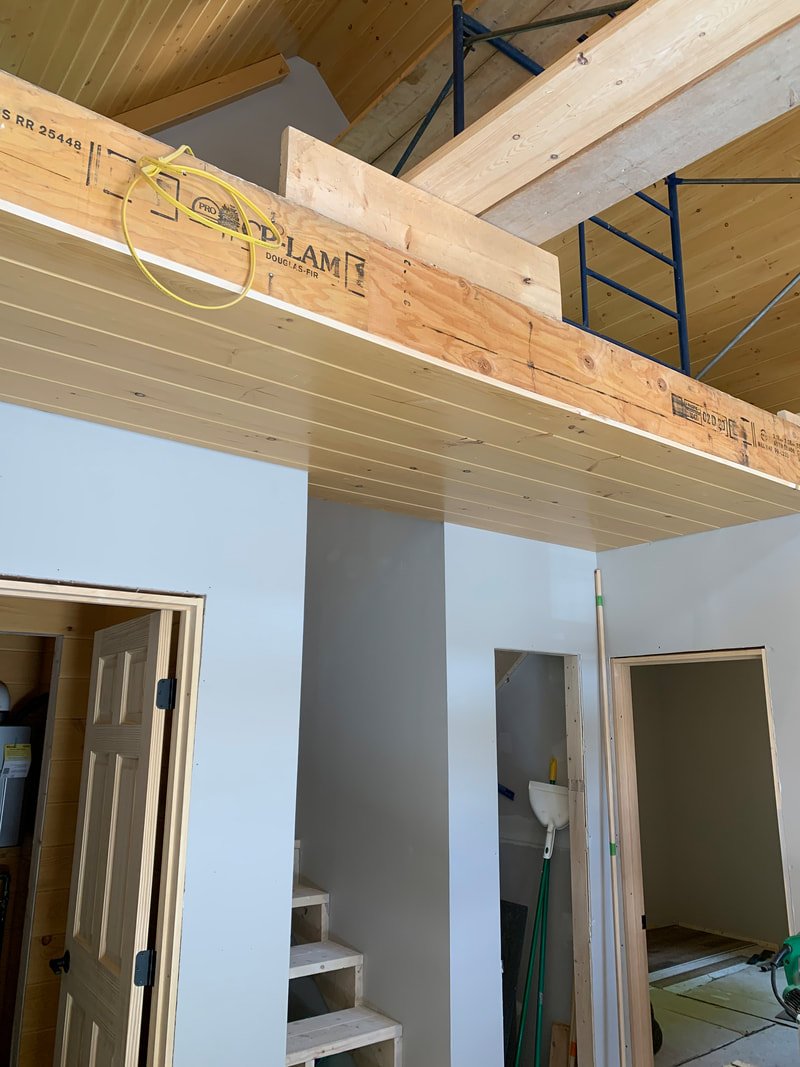 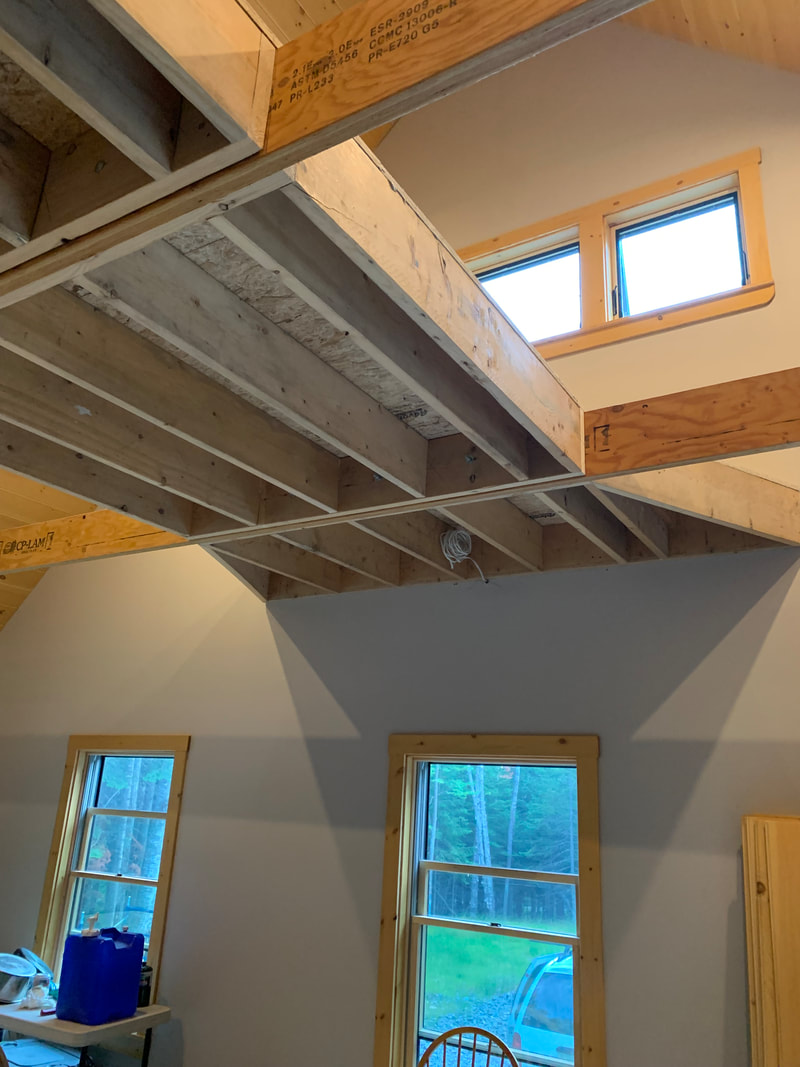 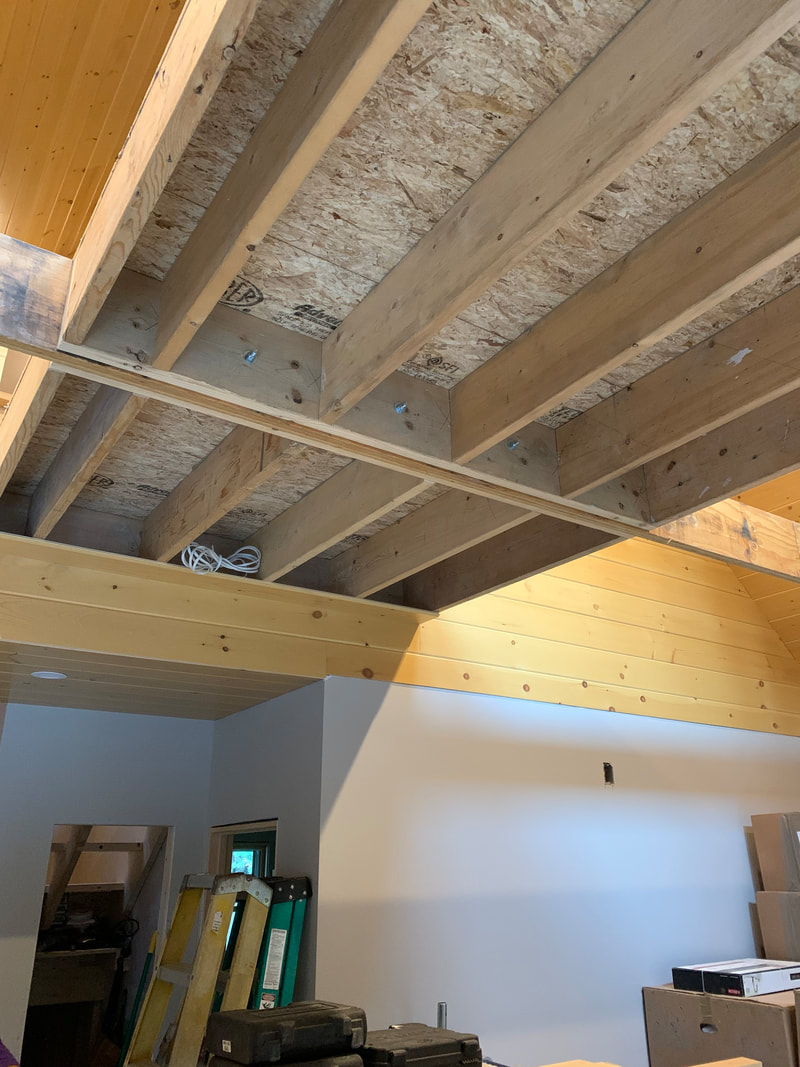  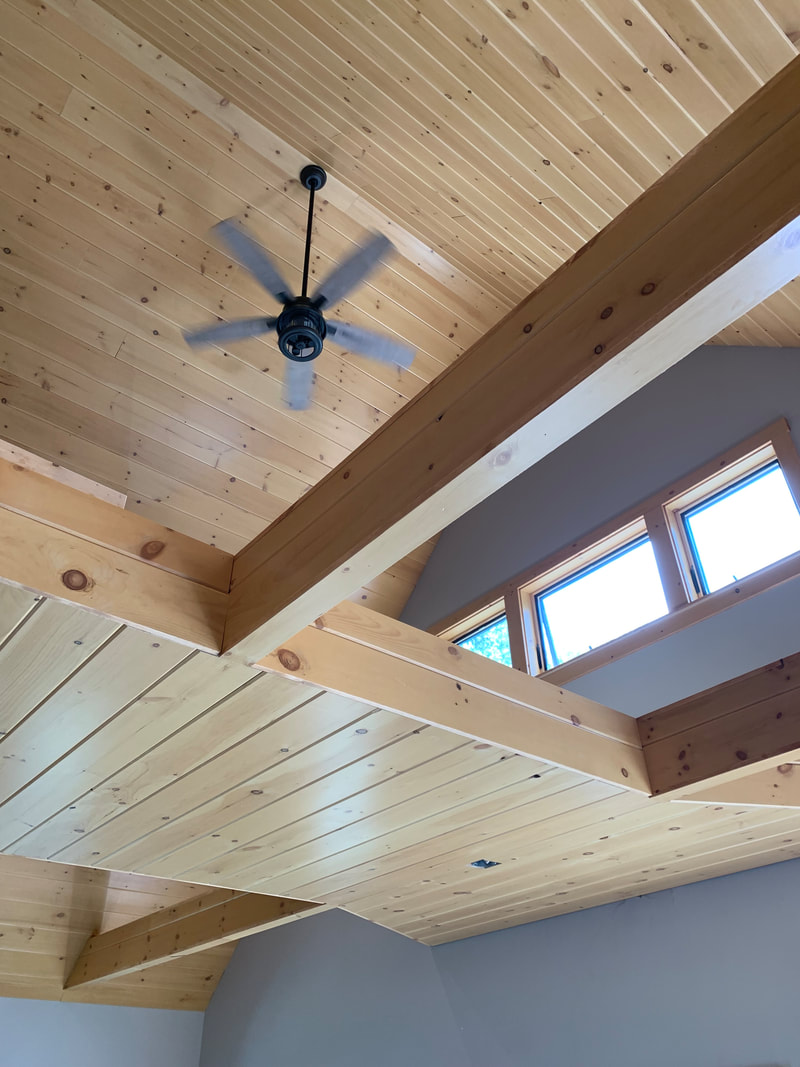 Our cabinets came in around Memorial Day, but we weren't able to get to them until July as fishing season was in full swing! I'm pretty proud of myself because I installed these all by myself with no prior experience. John was busy working on other projects, so I tackled this on my own! 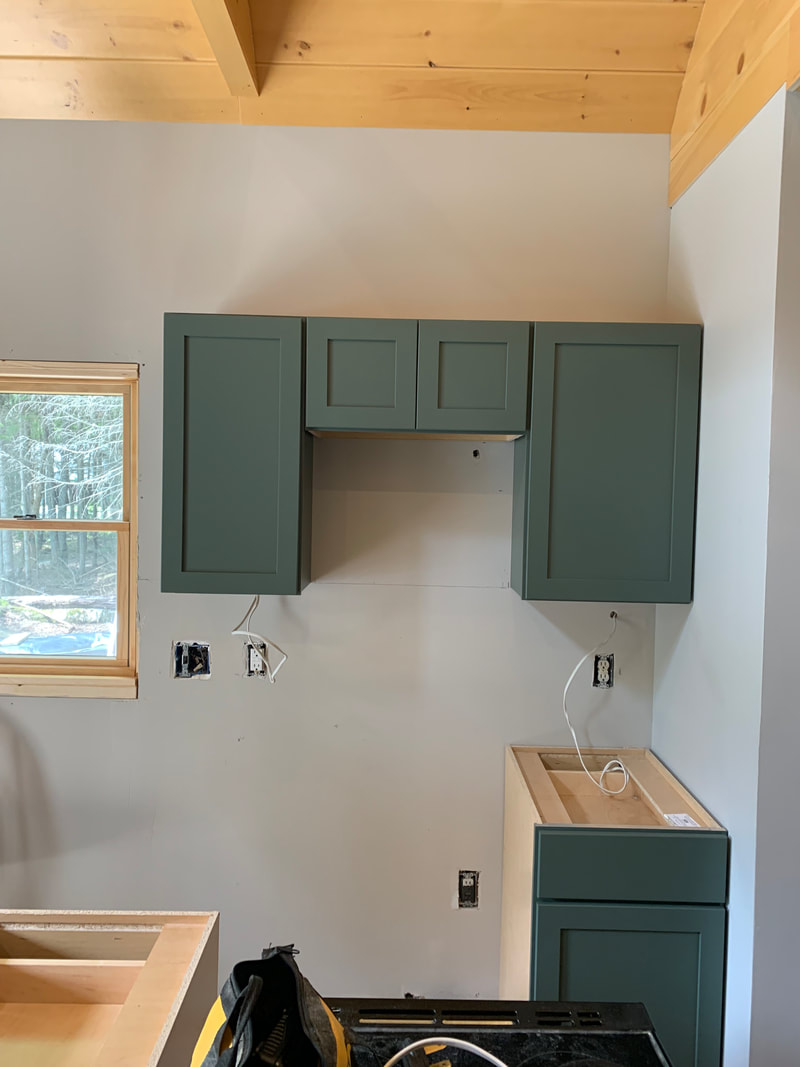 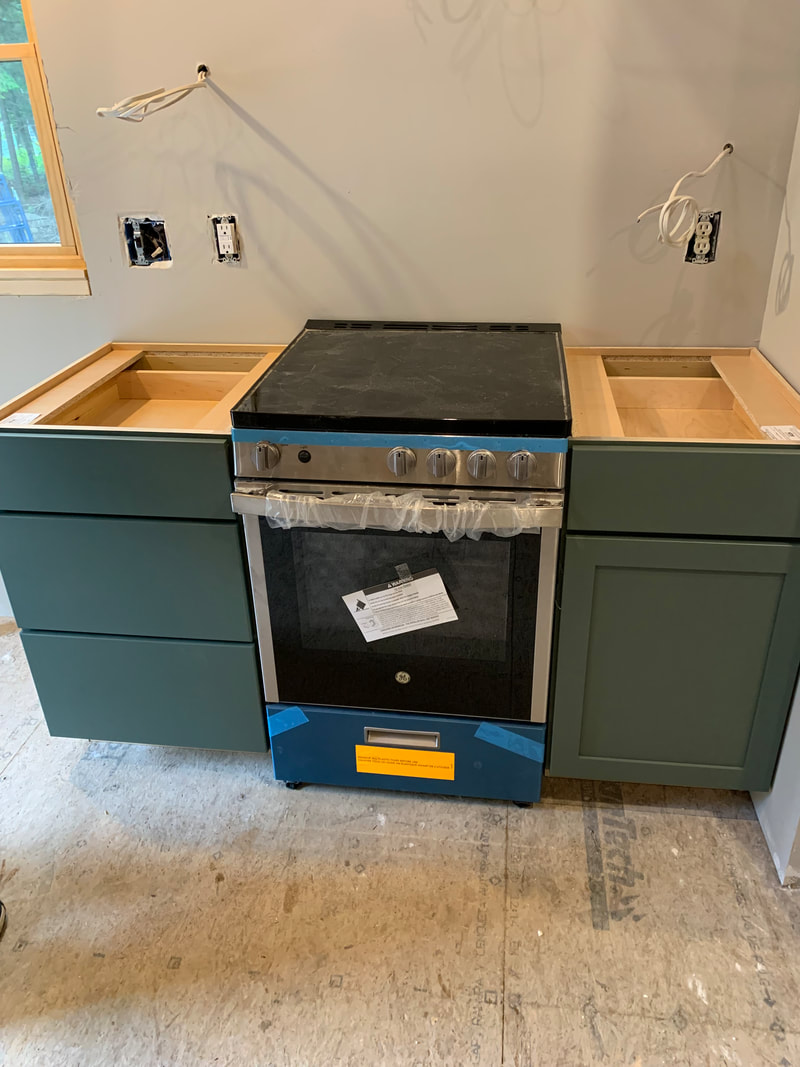 Now that cabinets were installed and the staging is officially out of the camp, it was time to tackle the floors. These went in so fast, but my only regret was using skinny boards. It looks GREAT, but just takes longer. Below are some shots of the flooring going in and the kitchen cabinets installed with a dry fit of the butcher block counter top we chose. 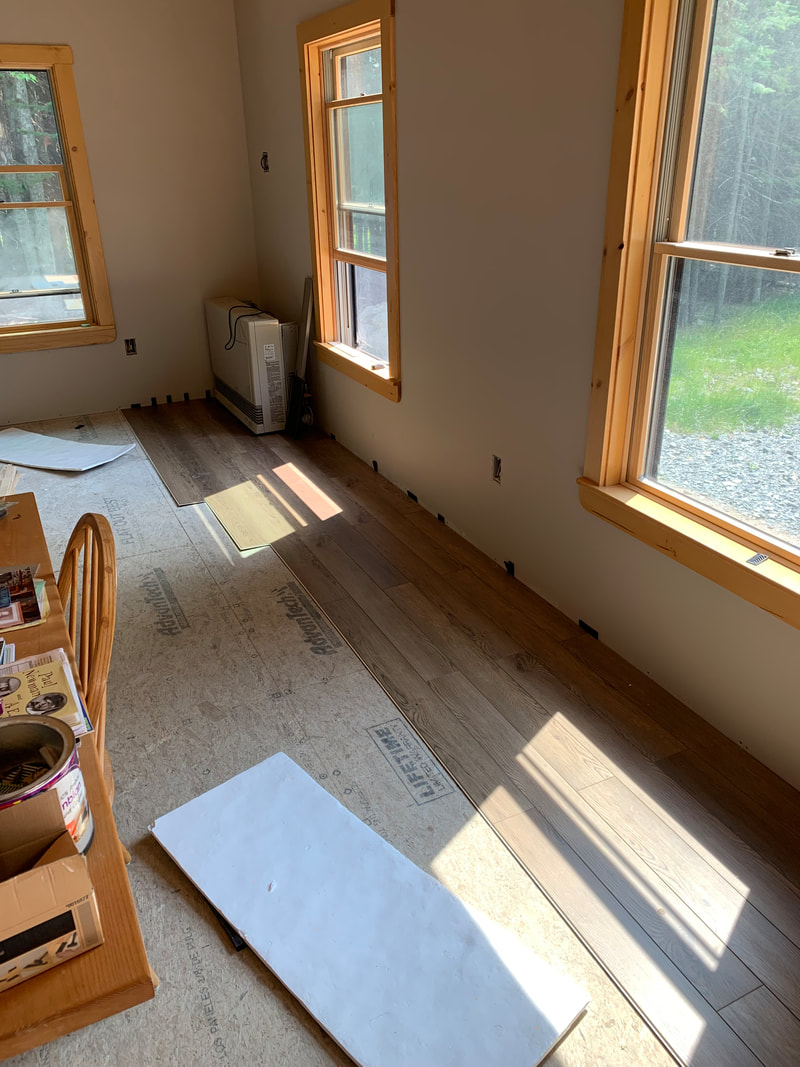 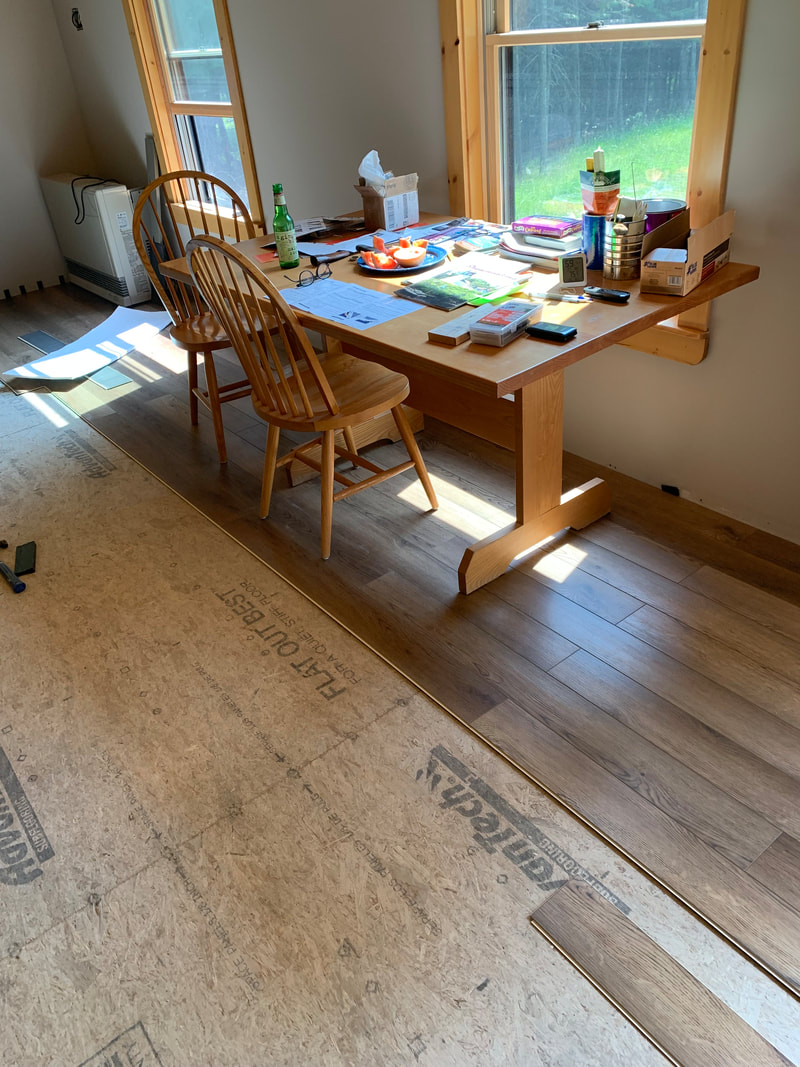 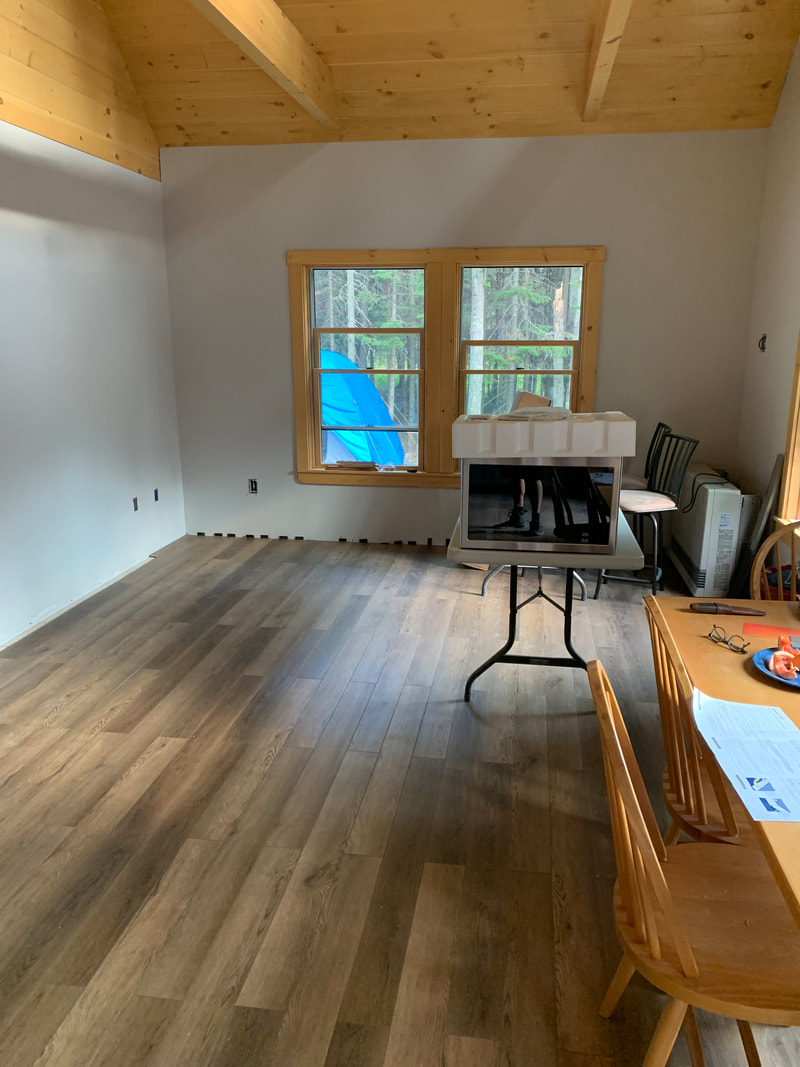 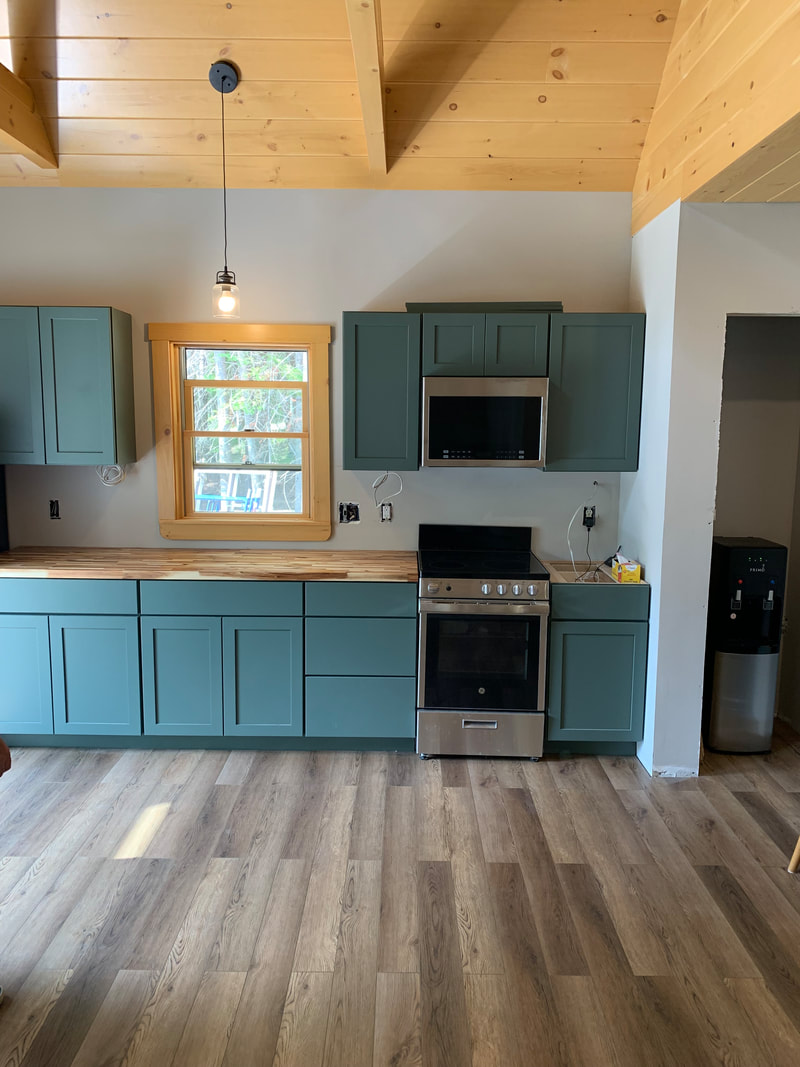 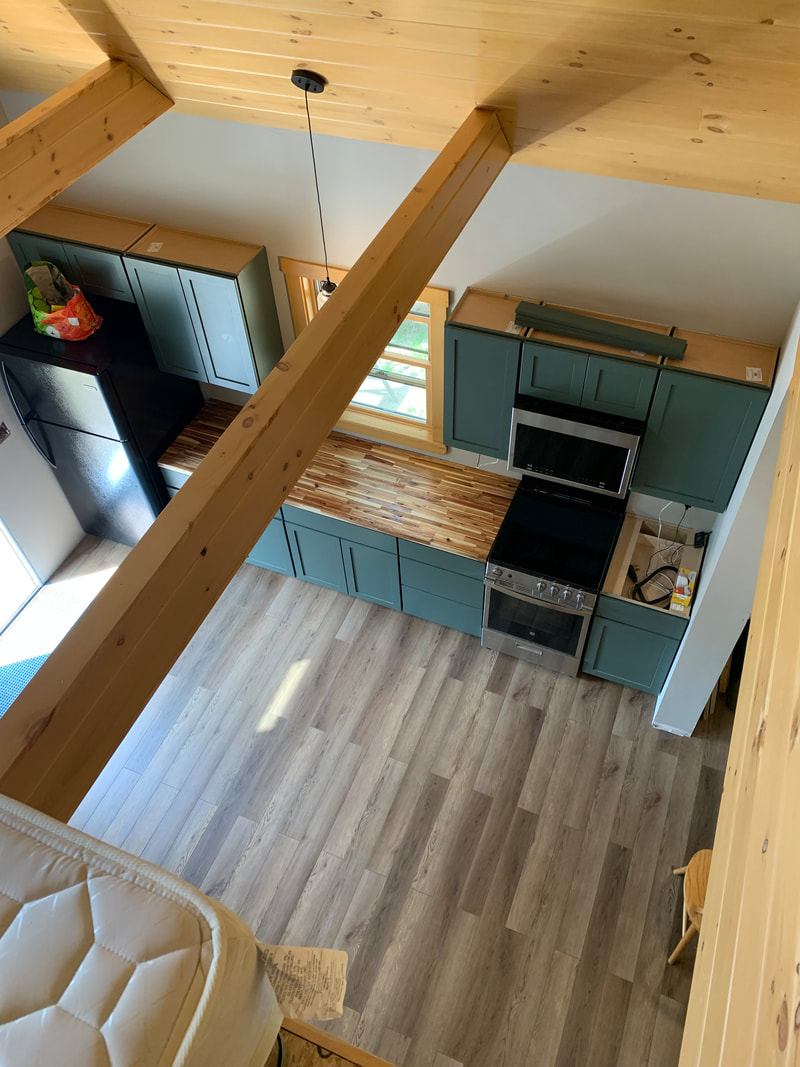 We began putting in the floors upstairs, but ran out. Back to the store to buy more. There's also a shot of the catwalk. It will have 4x4 posts on the sides with cable wires running as the slats. The flooring will be the same as it is downstairs. There's a shot of the stairwell also, which just needs stairs and railings! 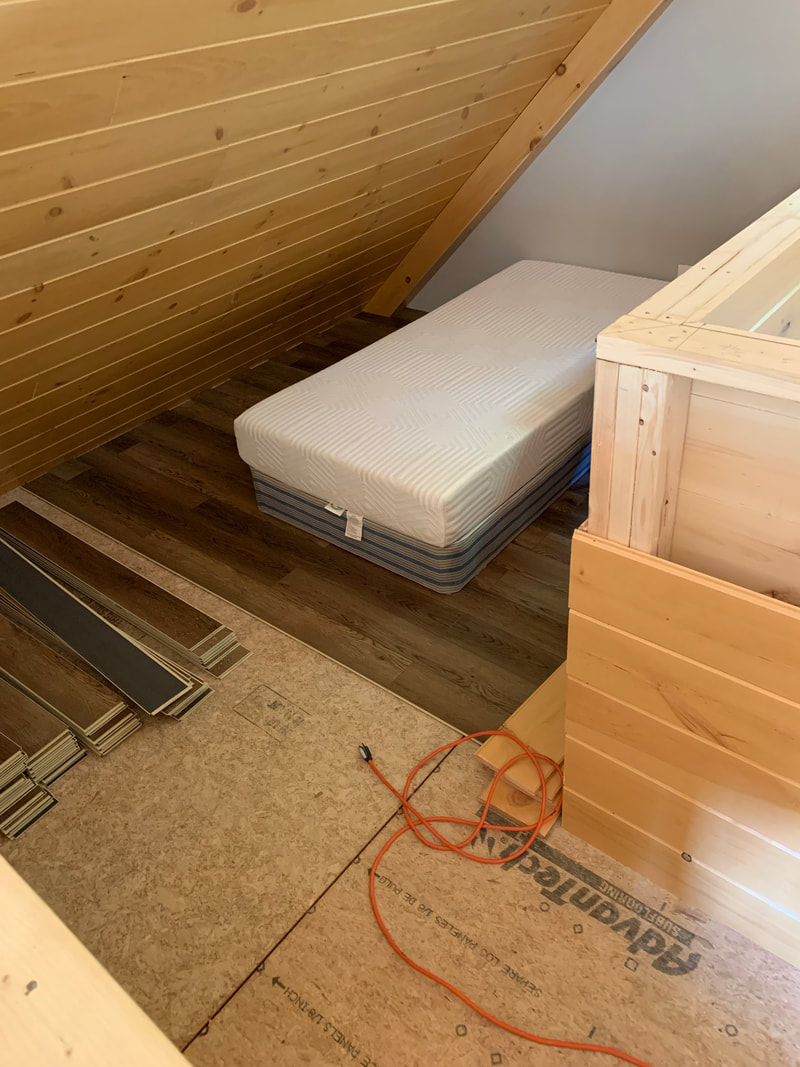 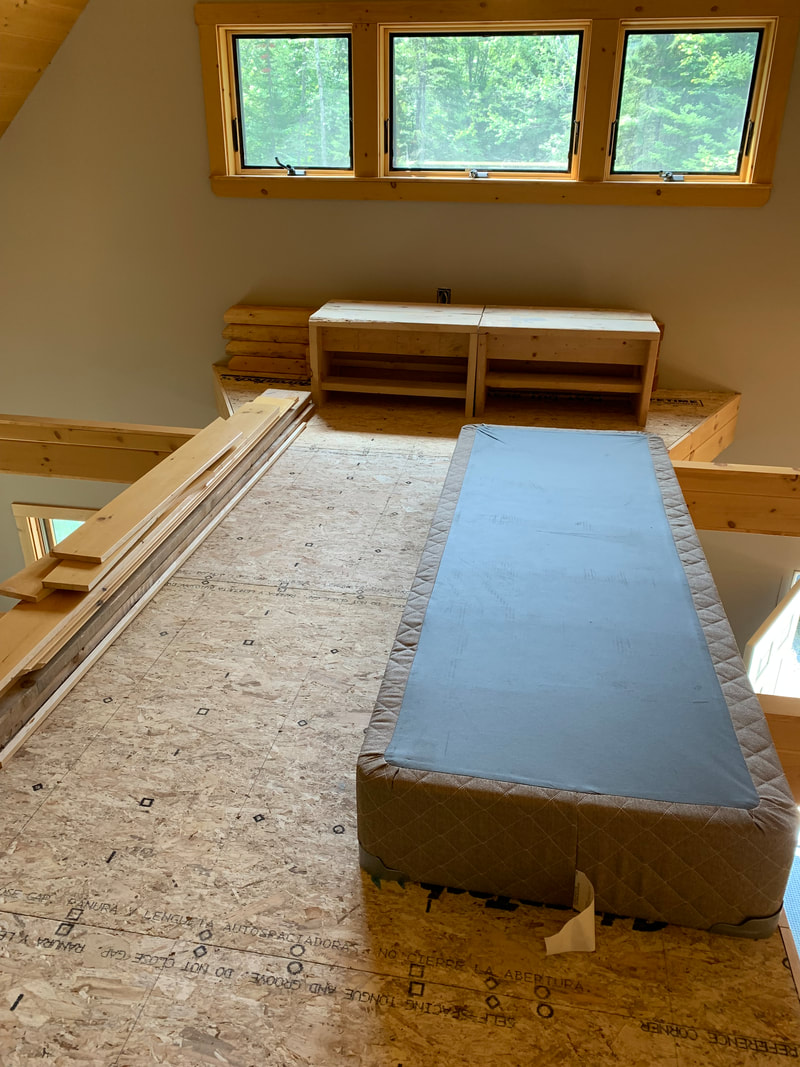 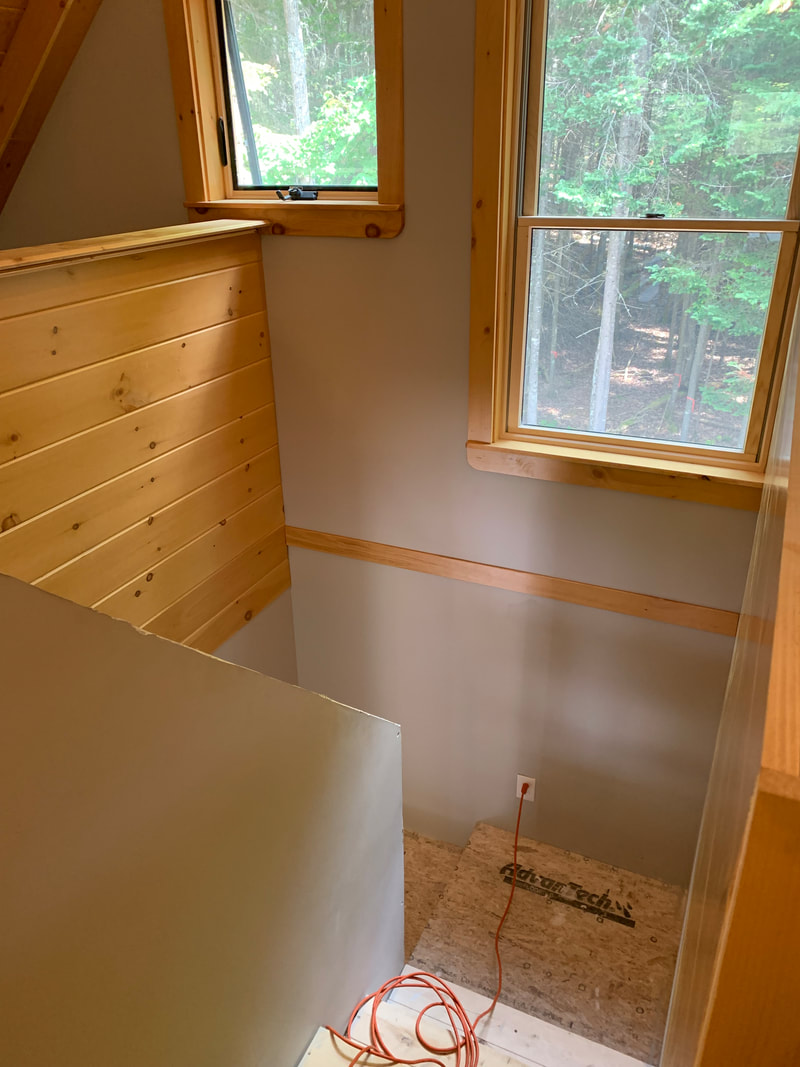 While John and I worked on the flooring, my dad came up to help out with some yard work and help build the fire pit. After many hours of deliberating and moving tons of stone at Lowes, I came up with a design that is the perfect size and look for camp! 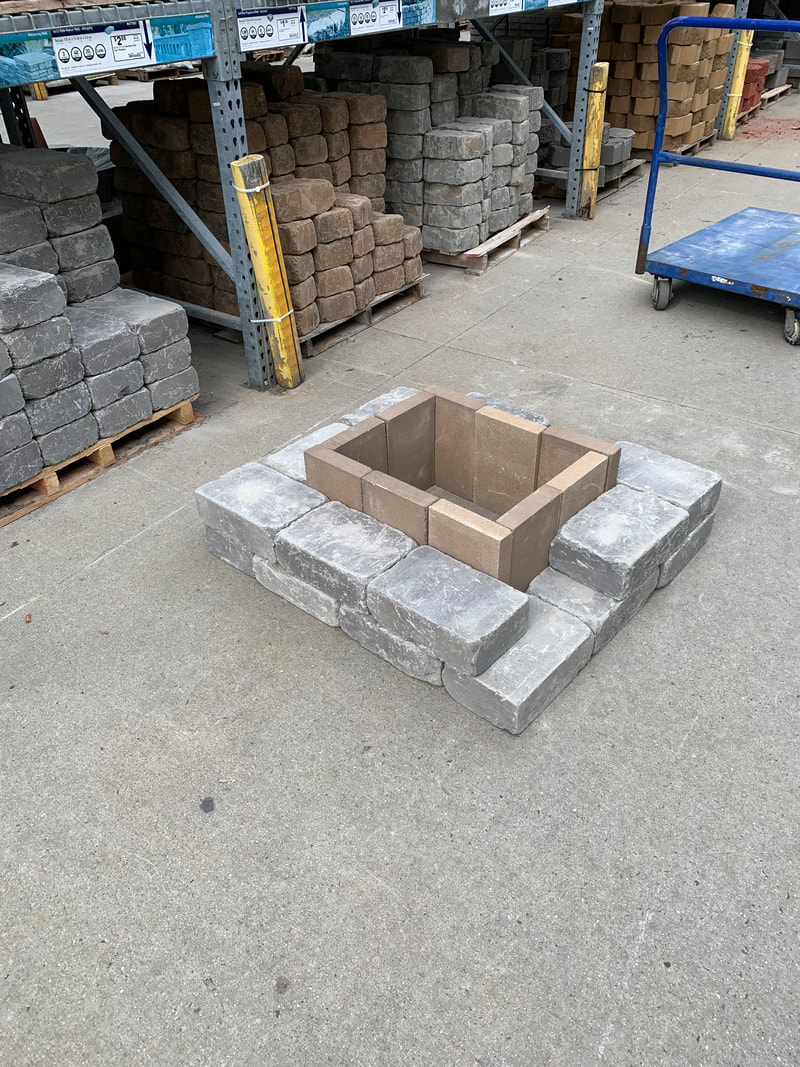 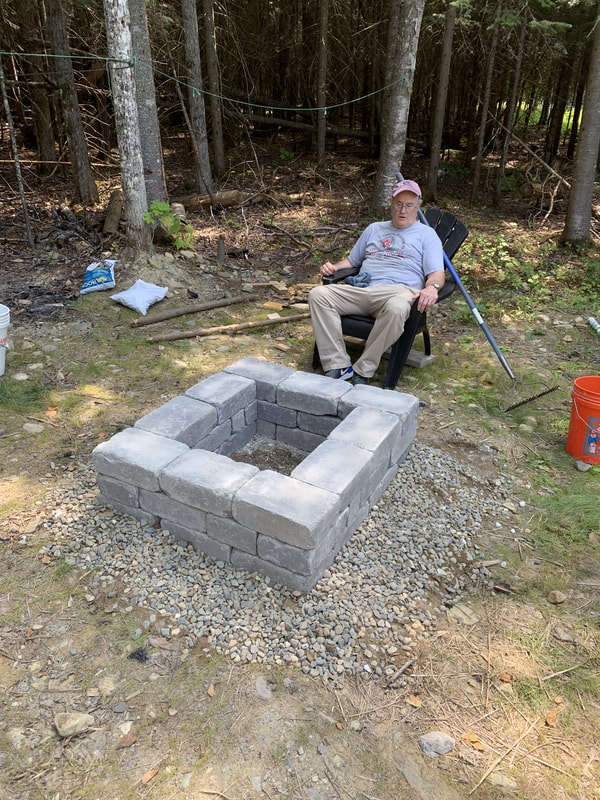 Here's a not so great picture of the bedroom with the full over full bunkbed that my good friend Marc built from some dimensions that I gave him. It came out really, really great. 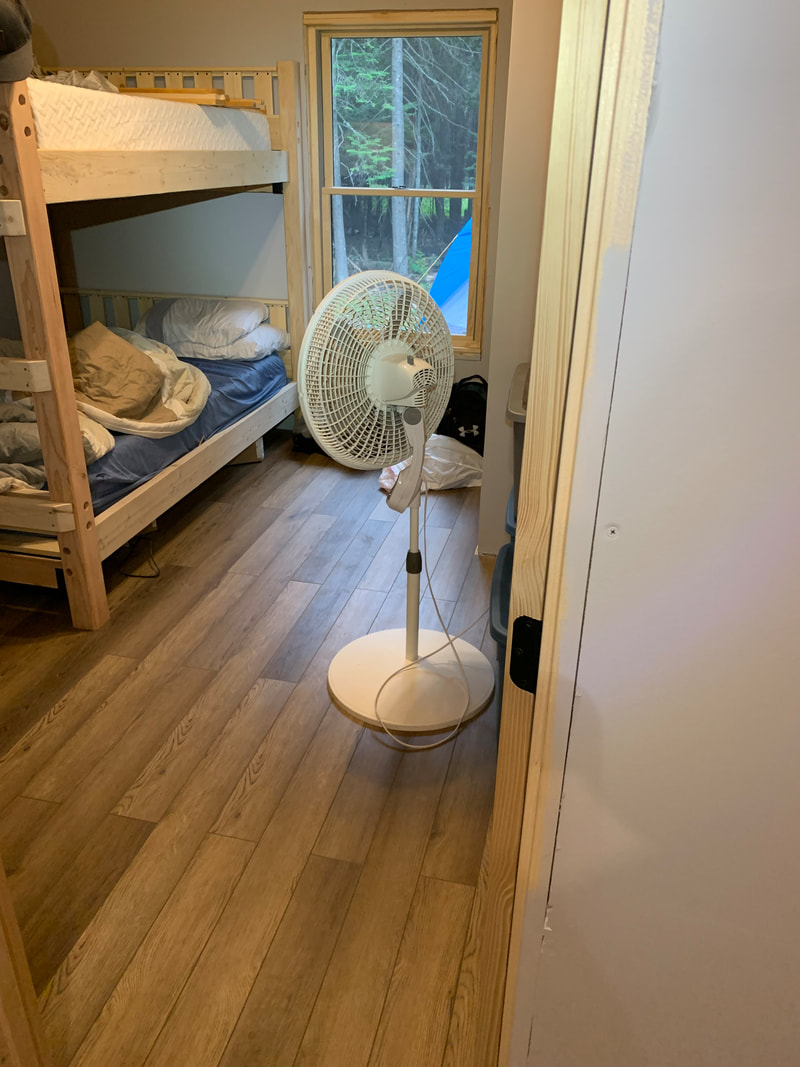 I've been working on restoring a desk that belonged to my uncle when he was in high school. I forgot the "ugly" before picture, but here's a picture of it sanded and mostly finished! 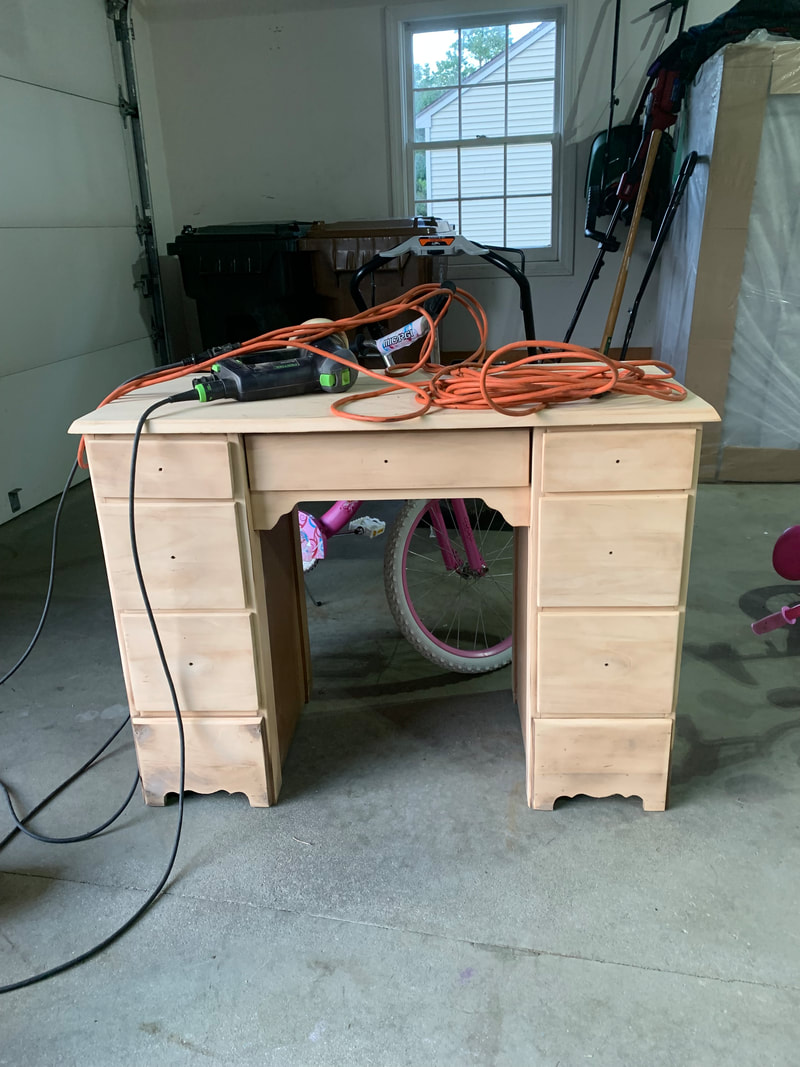 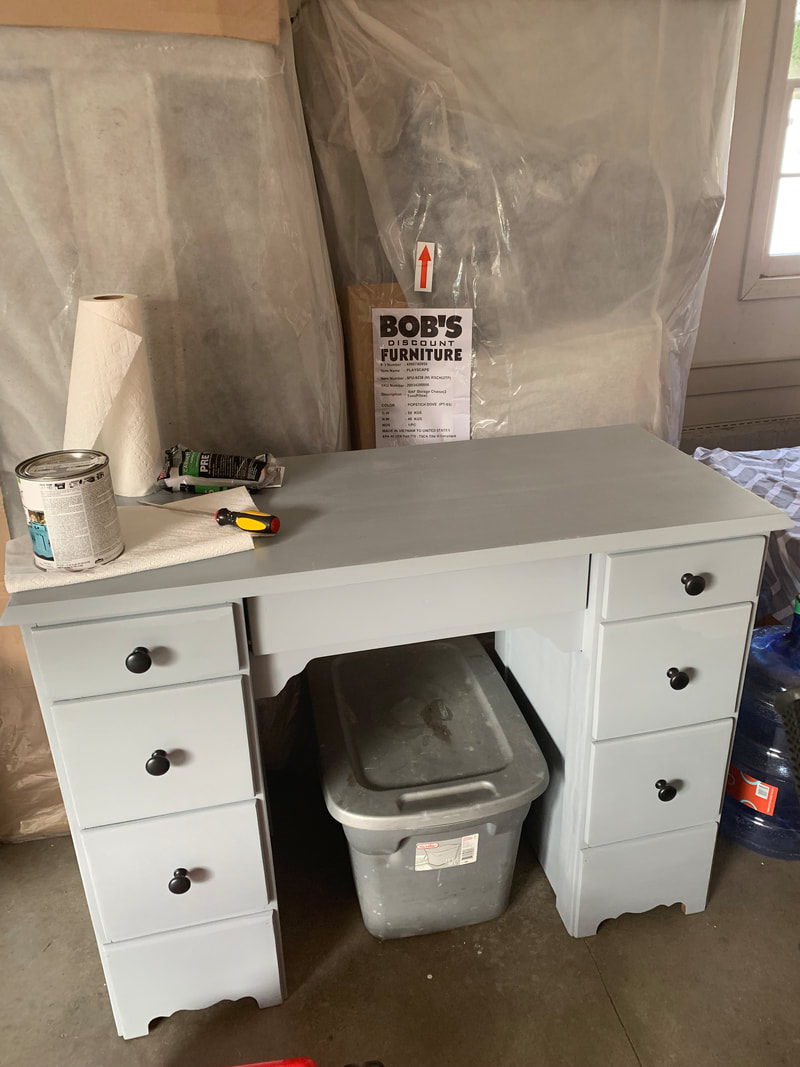 It's August 17th and we're hoping to have all of the electrical and plumbing done by Labor Day. The kitchen sink is in and we need to finish installing/staining closet doors and baseboard trim inside. We'll finish the stairs also then start moving on to the outside. It's our hopes to get the siding on and the screened in porch framed up by the end of September. We're projecting to finish before the snow flies and looking forward to some fall days out in the woods and on the water with a nice chili waiting for us back at camp! Here's a cool picture of the outside of the camp from the winter. Stay tuned! 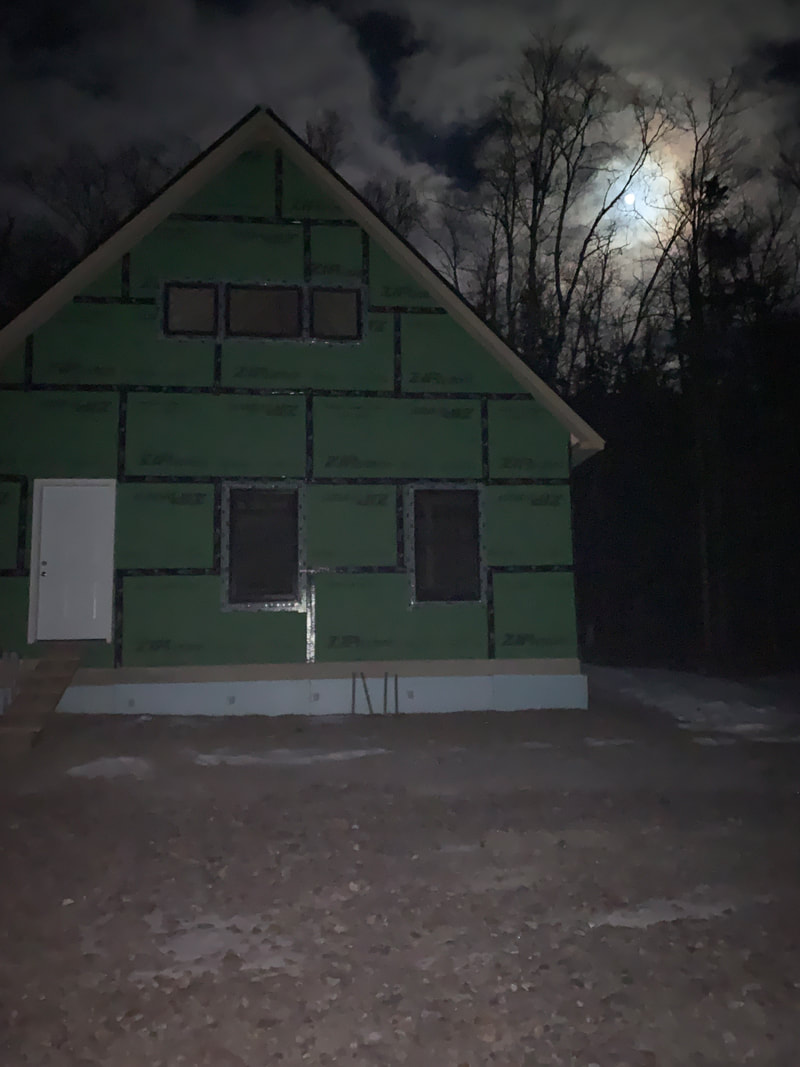
0 Comments
Leave a Reply. |
AuthorAaron Broaddus is a passionate fly fisherman and a Maine guide. Archives
February 2023
Categories |
 RSS Feed
Headin' North just always feels right