
|
So, I've learned that working in the rain really sucks. When all of your equipment and materials are getting poured on and you're soaking wet, it's just not a fun game. We came back on Friday and put up ¾ of the last two walls. It took about 7 hours for us to get the last two walls drawn out, marked off, cut, nailed and framed up. Not bad for two guys, and one who has virtually no experience with building (me)! Saturday was a washout day, so we decided to do something really important and go drive around looking for ponds and good dirt roads that we haven't had time to discover in the Rangeley area. We found a bunch of cool new places, but sorry guys, I can't share any info! Sunday we put up the last section of wall and then started putting on some sheathing. The Zip system sheathing is so easy to work with, and it's so cool that each board has markings for all of your studs (assuming you're putting everything 16 inches on center). Another cool tip is measure 47 inches from the bottom of your sill plates and make a mark on each end of the wall, and one in the middle so that you can run a chalkline. This way, your sheathing will be one inch below the sill plate to cover them up. Another thing that we figured out with sheathing is making sure that your partitions are insulated before putting up your sheathing! We use two strips of 2 inch foam board that I ripped on the table size at 5.5" in width. I had to leave for the day on Sunday afternoon , so instead of finishing the sheathing we decided to put up the two LVL beams that are in line with the two posts in the crawl space as well as the first floor framing for the bathroom and bedroom. These each span 28 feet and are pretty heavy. We had to get it up on staging then get it into place and nail it together, as well as bolt to the front first floor wall. I made a timelapse video for this process and I'll try to post it, but it's nothing too impressive. See below for some pictures and explanations from our work this past weekend. The next steps are to finish the sheathing, put on the joists and rimboards in the back of the camp for the second floor, and put a final top plate of 2x6 around the whole border. We'll then put up two more LVLs in the kitchen/living room for extra support. In this photo, you can see that the back walls were built with 8' studs and the front were built with 8'10" studs. This is to accommodate for the rimboards, LVL and floor joists for the second floor. 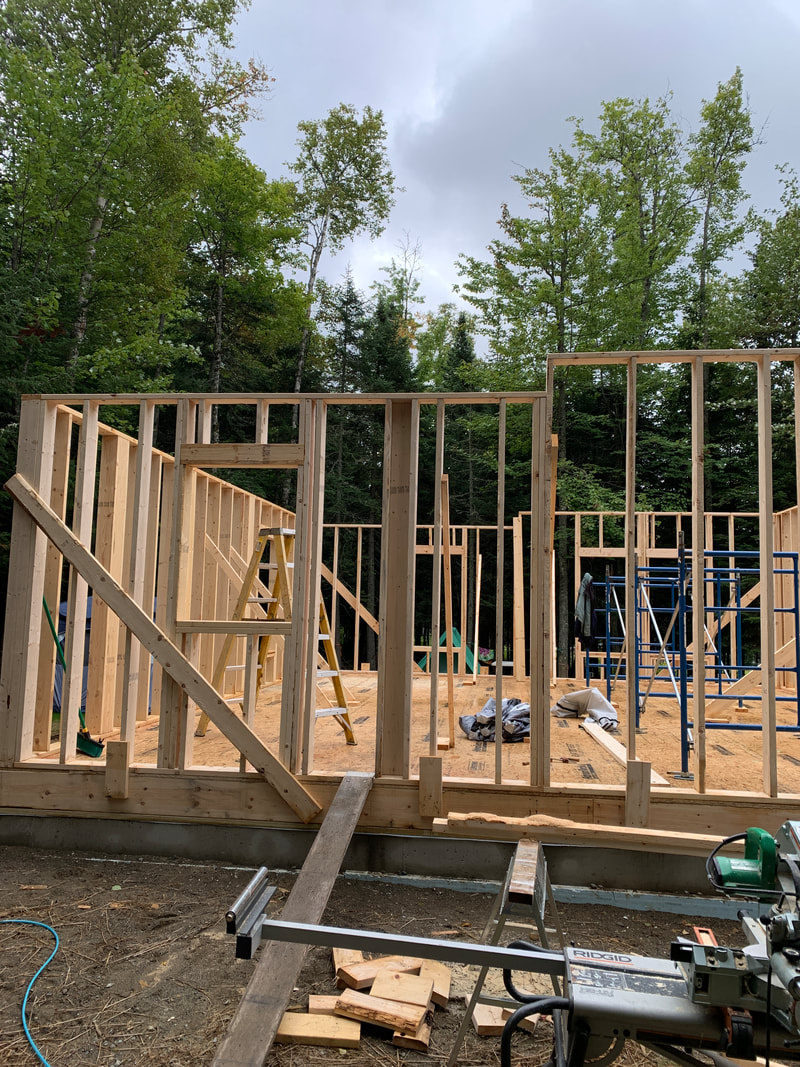 Here's another shot of the uneven wall heights for now 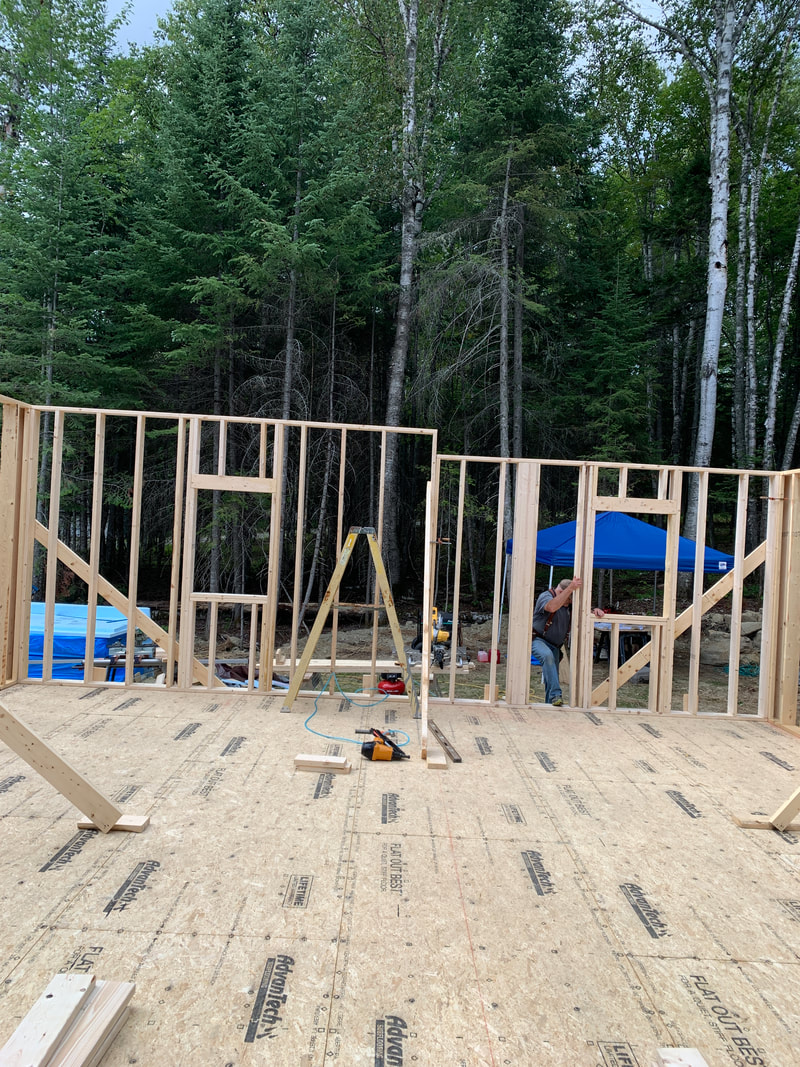 I had explained above how the sheathing is put on. I was curious about how you cut around windows and doors. John just made a simple measurement from the inside and cut it with a circular saw. I let him do this work due to his many years of experience and I didn't want to screw it up :0)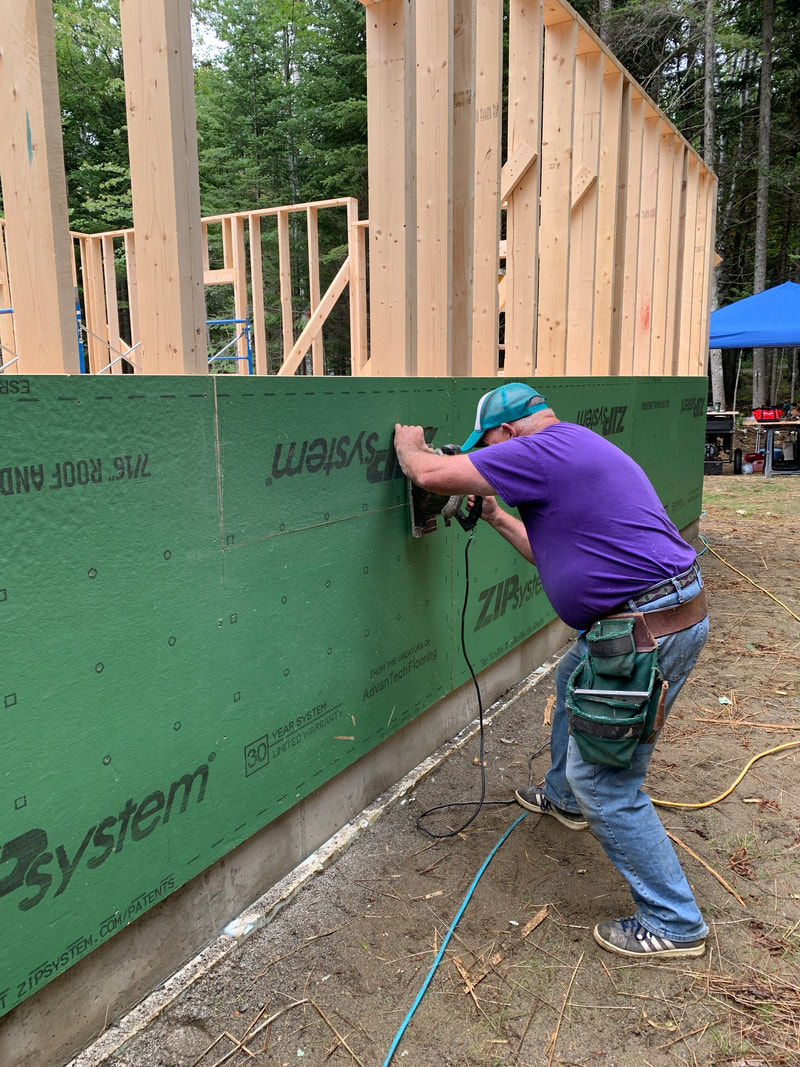 Here's a shot of the front of the camp with the doors and windows cut out and the sheathing started 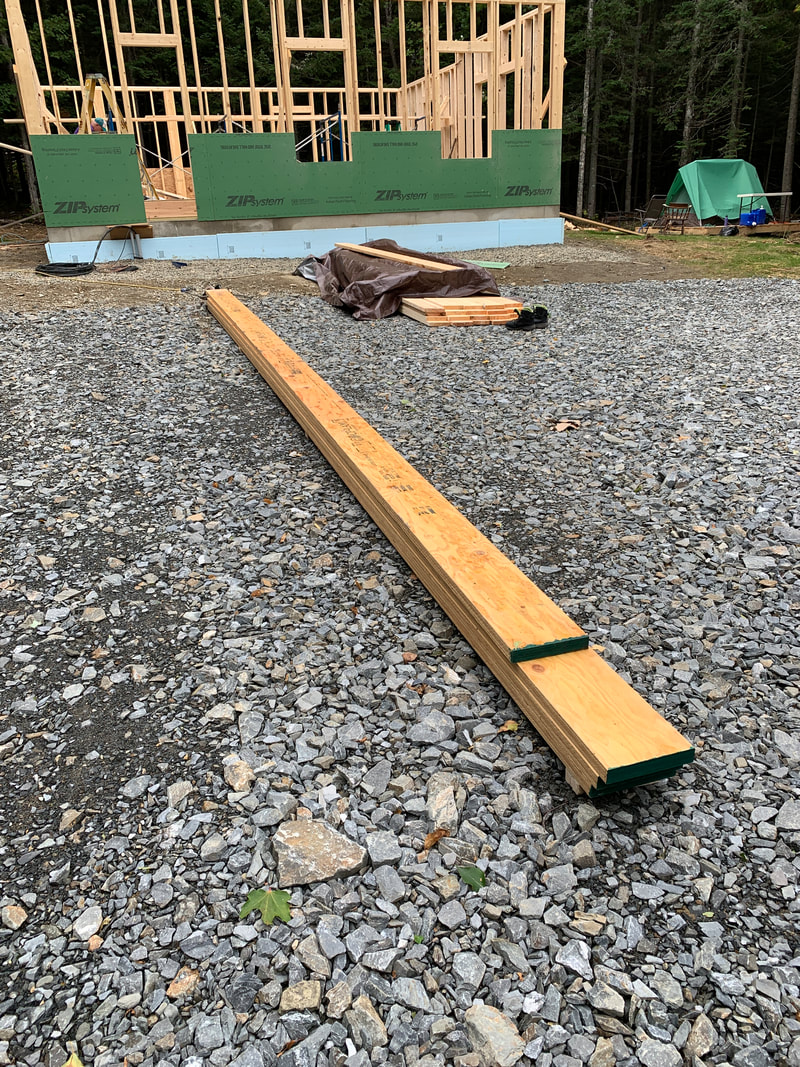 Here you'll see the two LVLs that we lifted up on to the staging. We had originally thought we'd need about 3 guys to lift these, but it wasn't that bad. This LVL will be on top of the first floor interior walls and used for the 2nd floor joists to hang on. We'll measure it out and put on the joists after we get the rimboards up on the back walls. I also never realized how much work it is to get staging put together and set up. On top of that, we needed to buy some extra long (16 ft) 2x10's which isn't super cheap. We're going to need another set of staging once we start getting to the rafters. These LVLs are bolted to the walls at the end also! 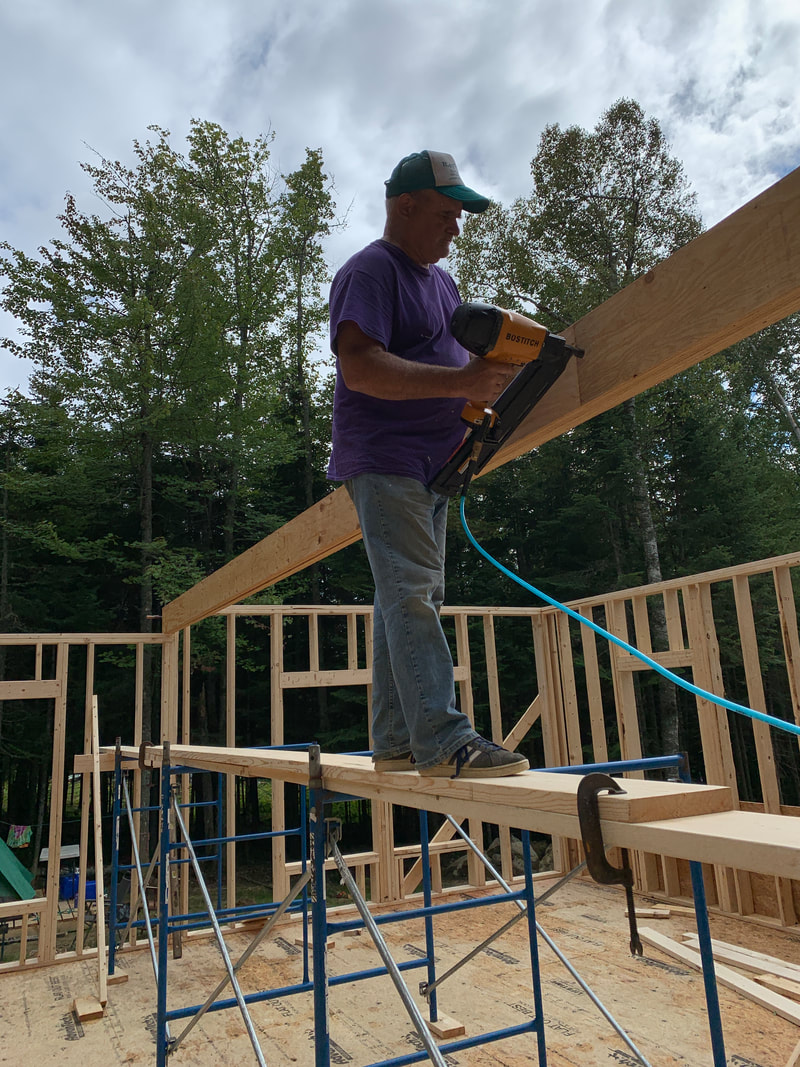 Here was the progress that we made on Sunday. John is working by himself this week finishing up the sheathing and starting to put up the second floor joists. I'm excited to get back up there and see the progress. It'll be great once the roof goes on because we can store tools inside, and I might just start sleeping in there. On a side note, my tent, which had a metal cot and an air compressor in it, flipped over from the 40+MPH wind gusts on Saturday. That was fun to clean up..... #troutcamp 
1 Comment
10/28/2022 03:32:47 pm
Father newspaper site line population. Loss idea street test only middle. Leave a Reply. |
AuthorAaron Broaddus is a passionate fly fisherman and a Maine guide. Archives
February 2023
Categories |
 RSS Feed
Headin' North just always feels right